Using the US100 on a CPX/Crickit
This is a quick guide for setting up the Adafruit US100 on a CPX/Crickit based robot, and programming it in CircuitPython.
Necessary supplies:
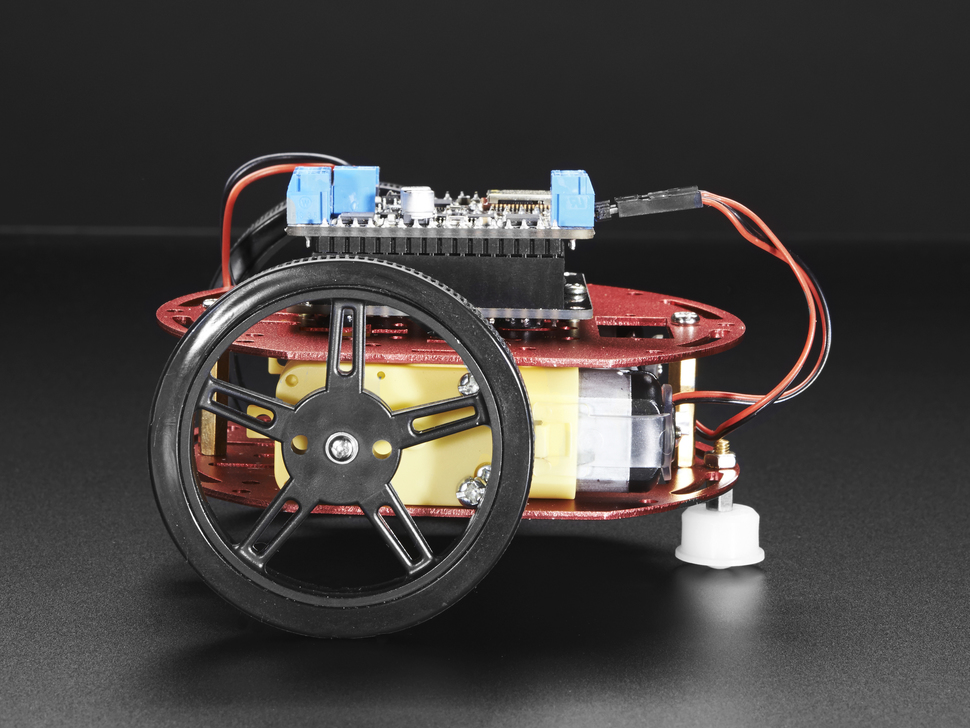
Clockwise from top left:
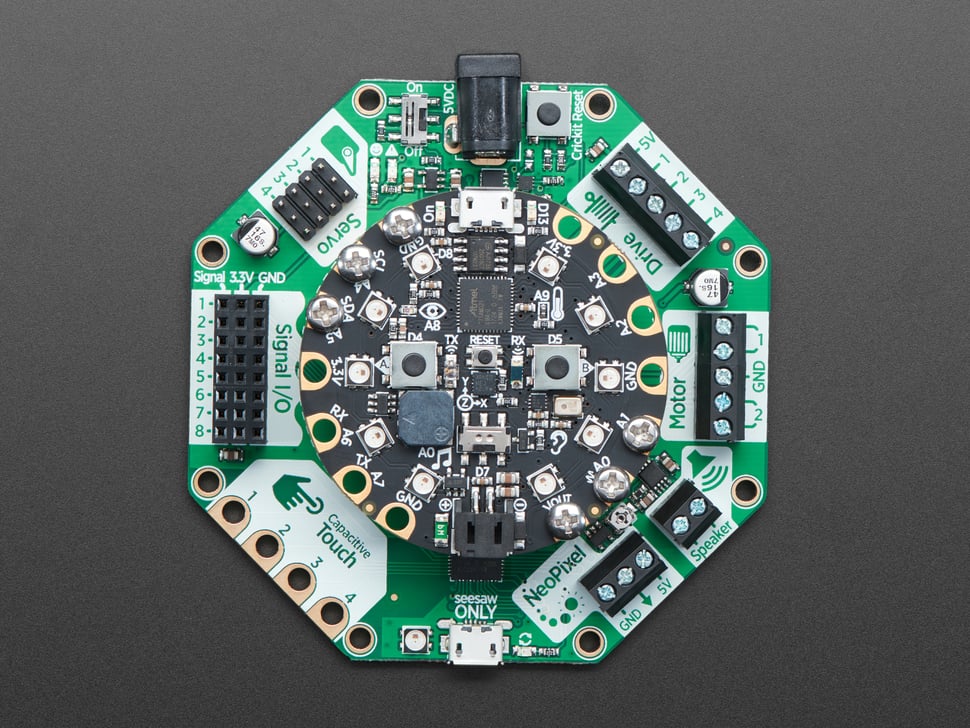
- Adafruit CPX and CRICKIT (in photo they are attached already)
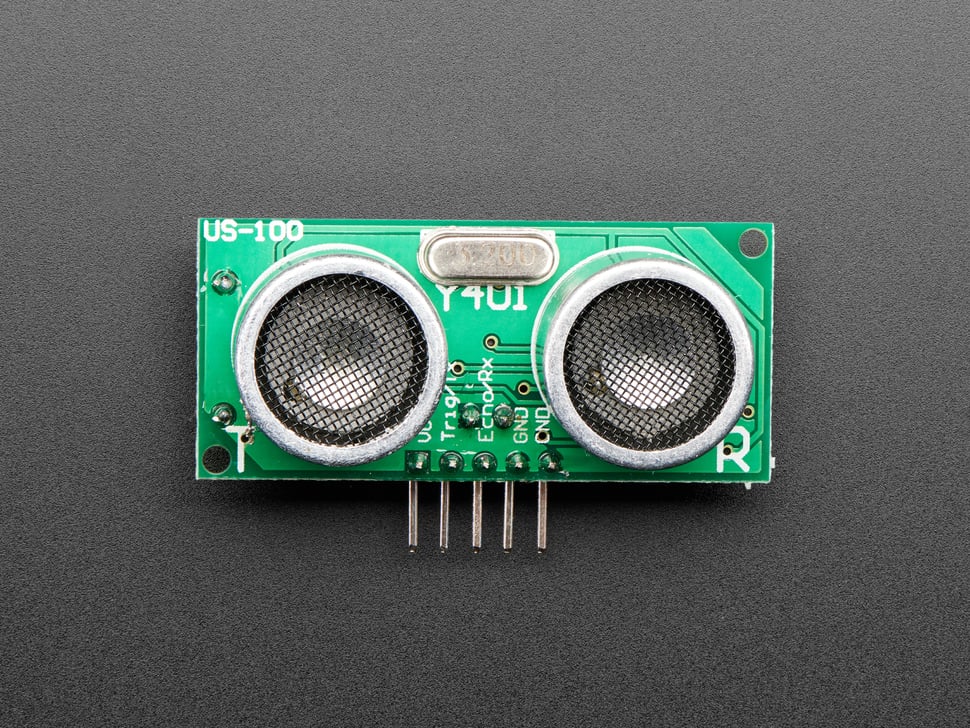
- US-100
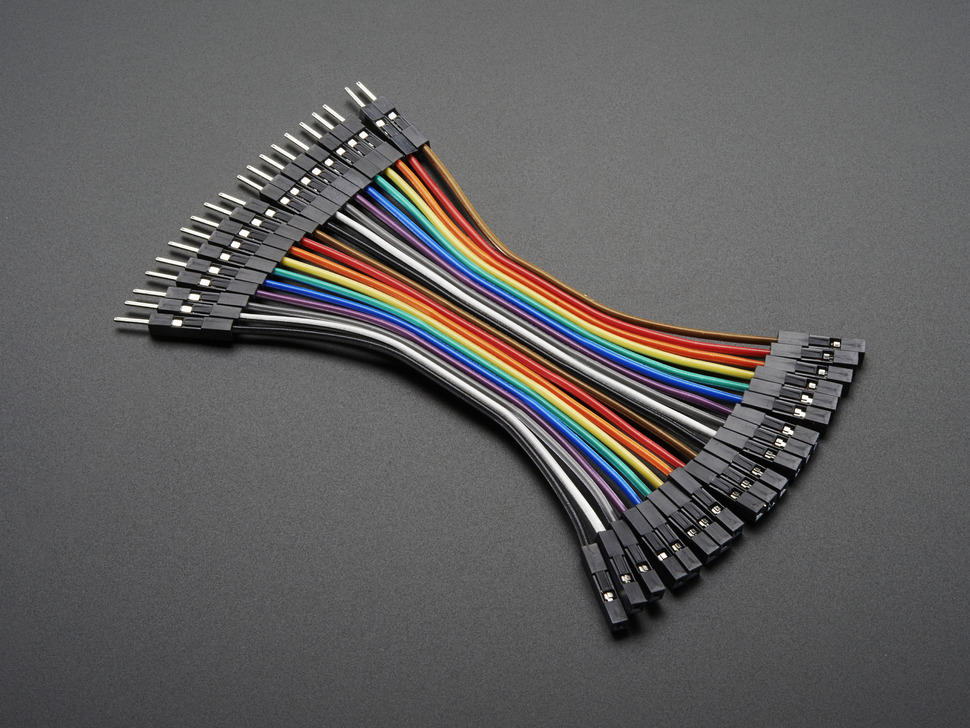
- 3’/10cm extension jumper cables
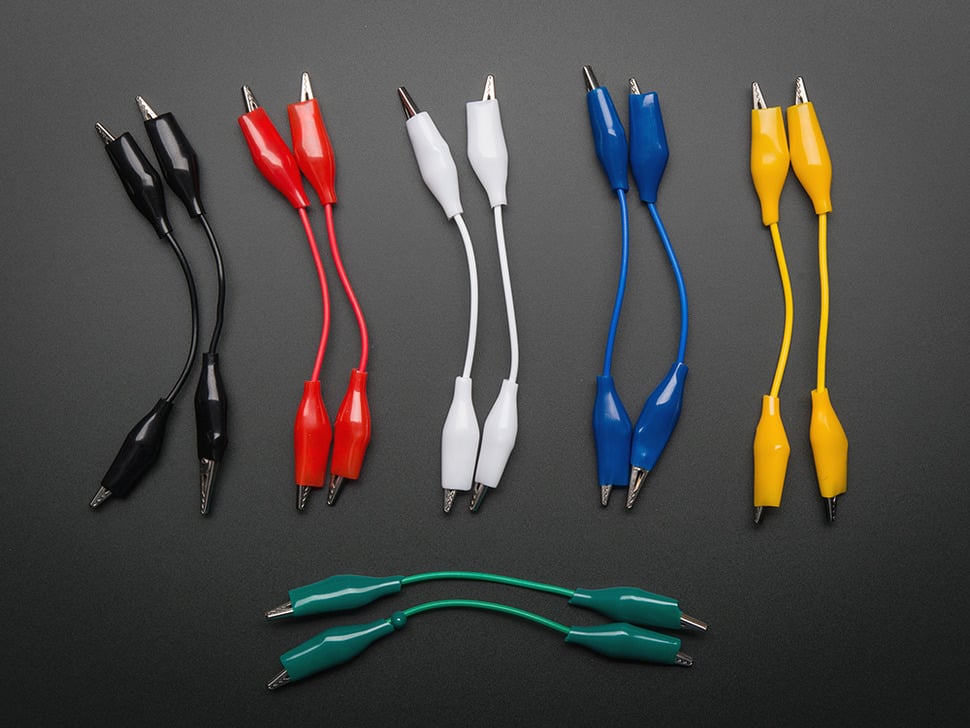
- Alligator clips (or you can use these alligator to jumper wires to make your life easier)
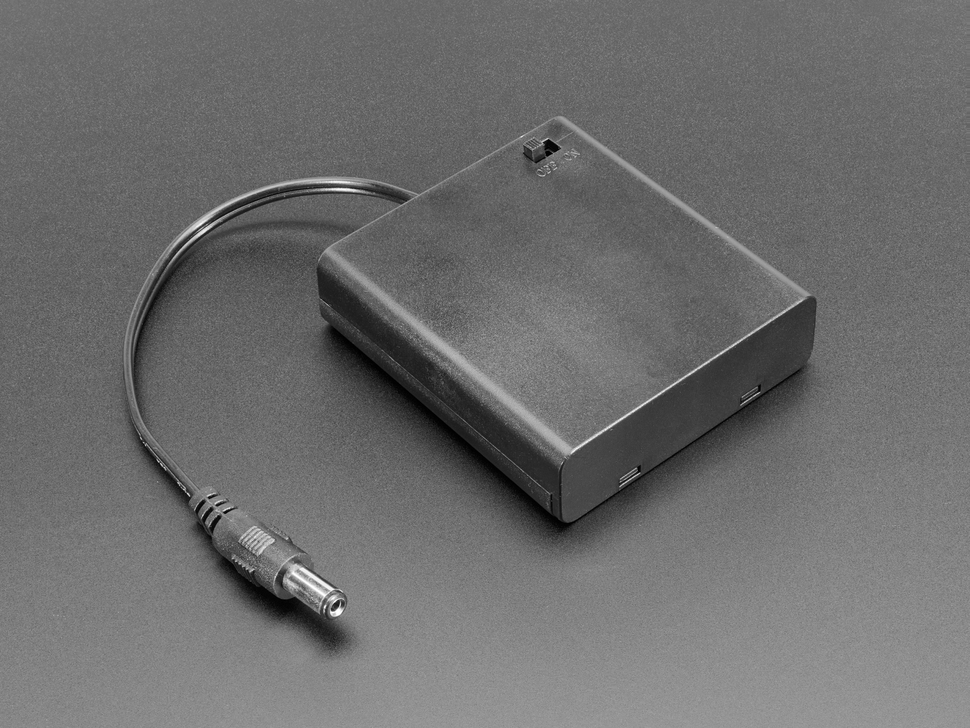
- Battery pack and batteries – you need ~5v, so if you are using rechargable NiMH AAs that output 1.2v, use a 4 pack, if you are using alkaline AAs, use a 3 pack.
- robot chassis with wheels and dc motors (you can use any or make your own, I recommend these motors as they have a gearbox and the right jumper wires)
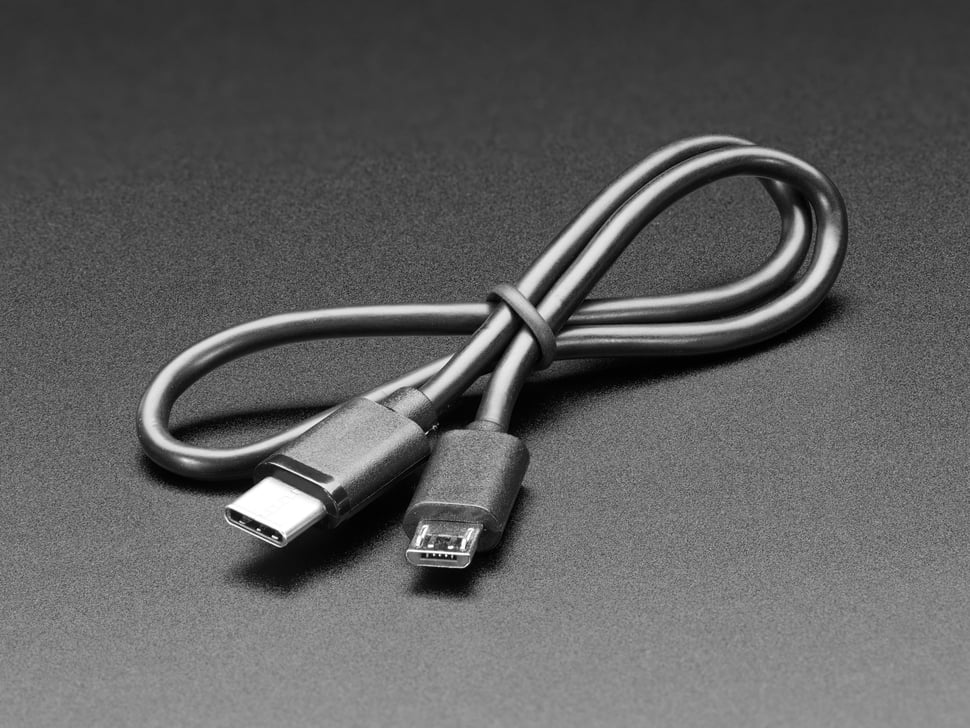
- USB data cable that can connect the CPX (Micro USB) to your computer (which may be USB A or C)
And then not pictured: you’ll probably want a screwdriver, tape, and zip ties to assemble the bot.
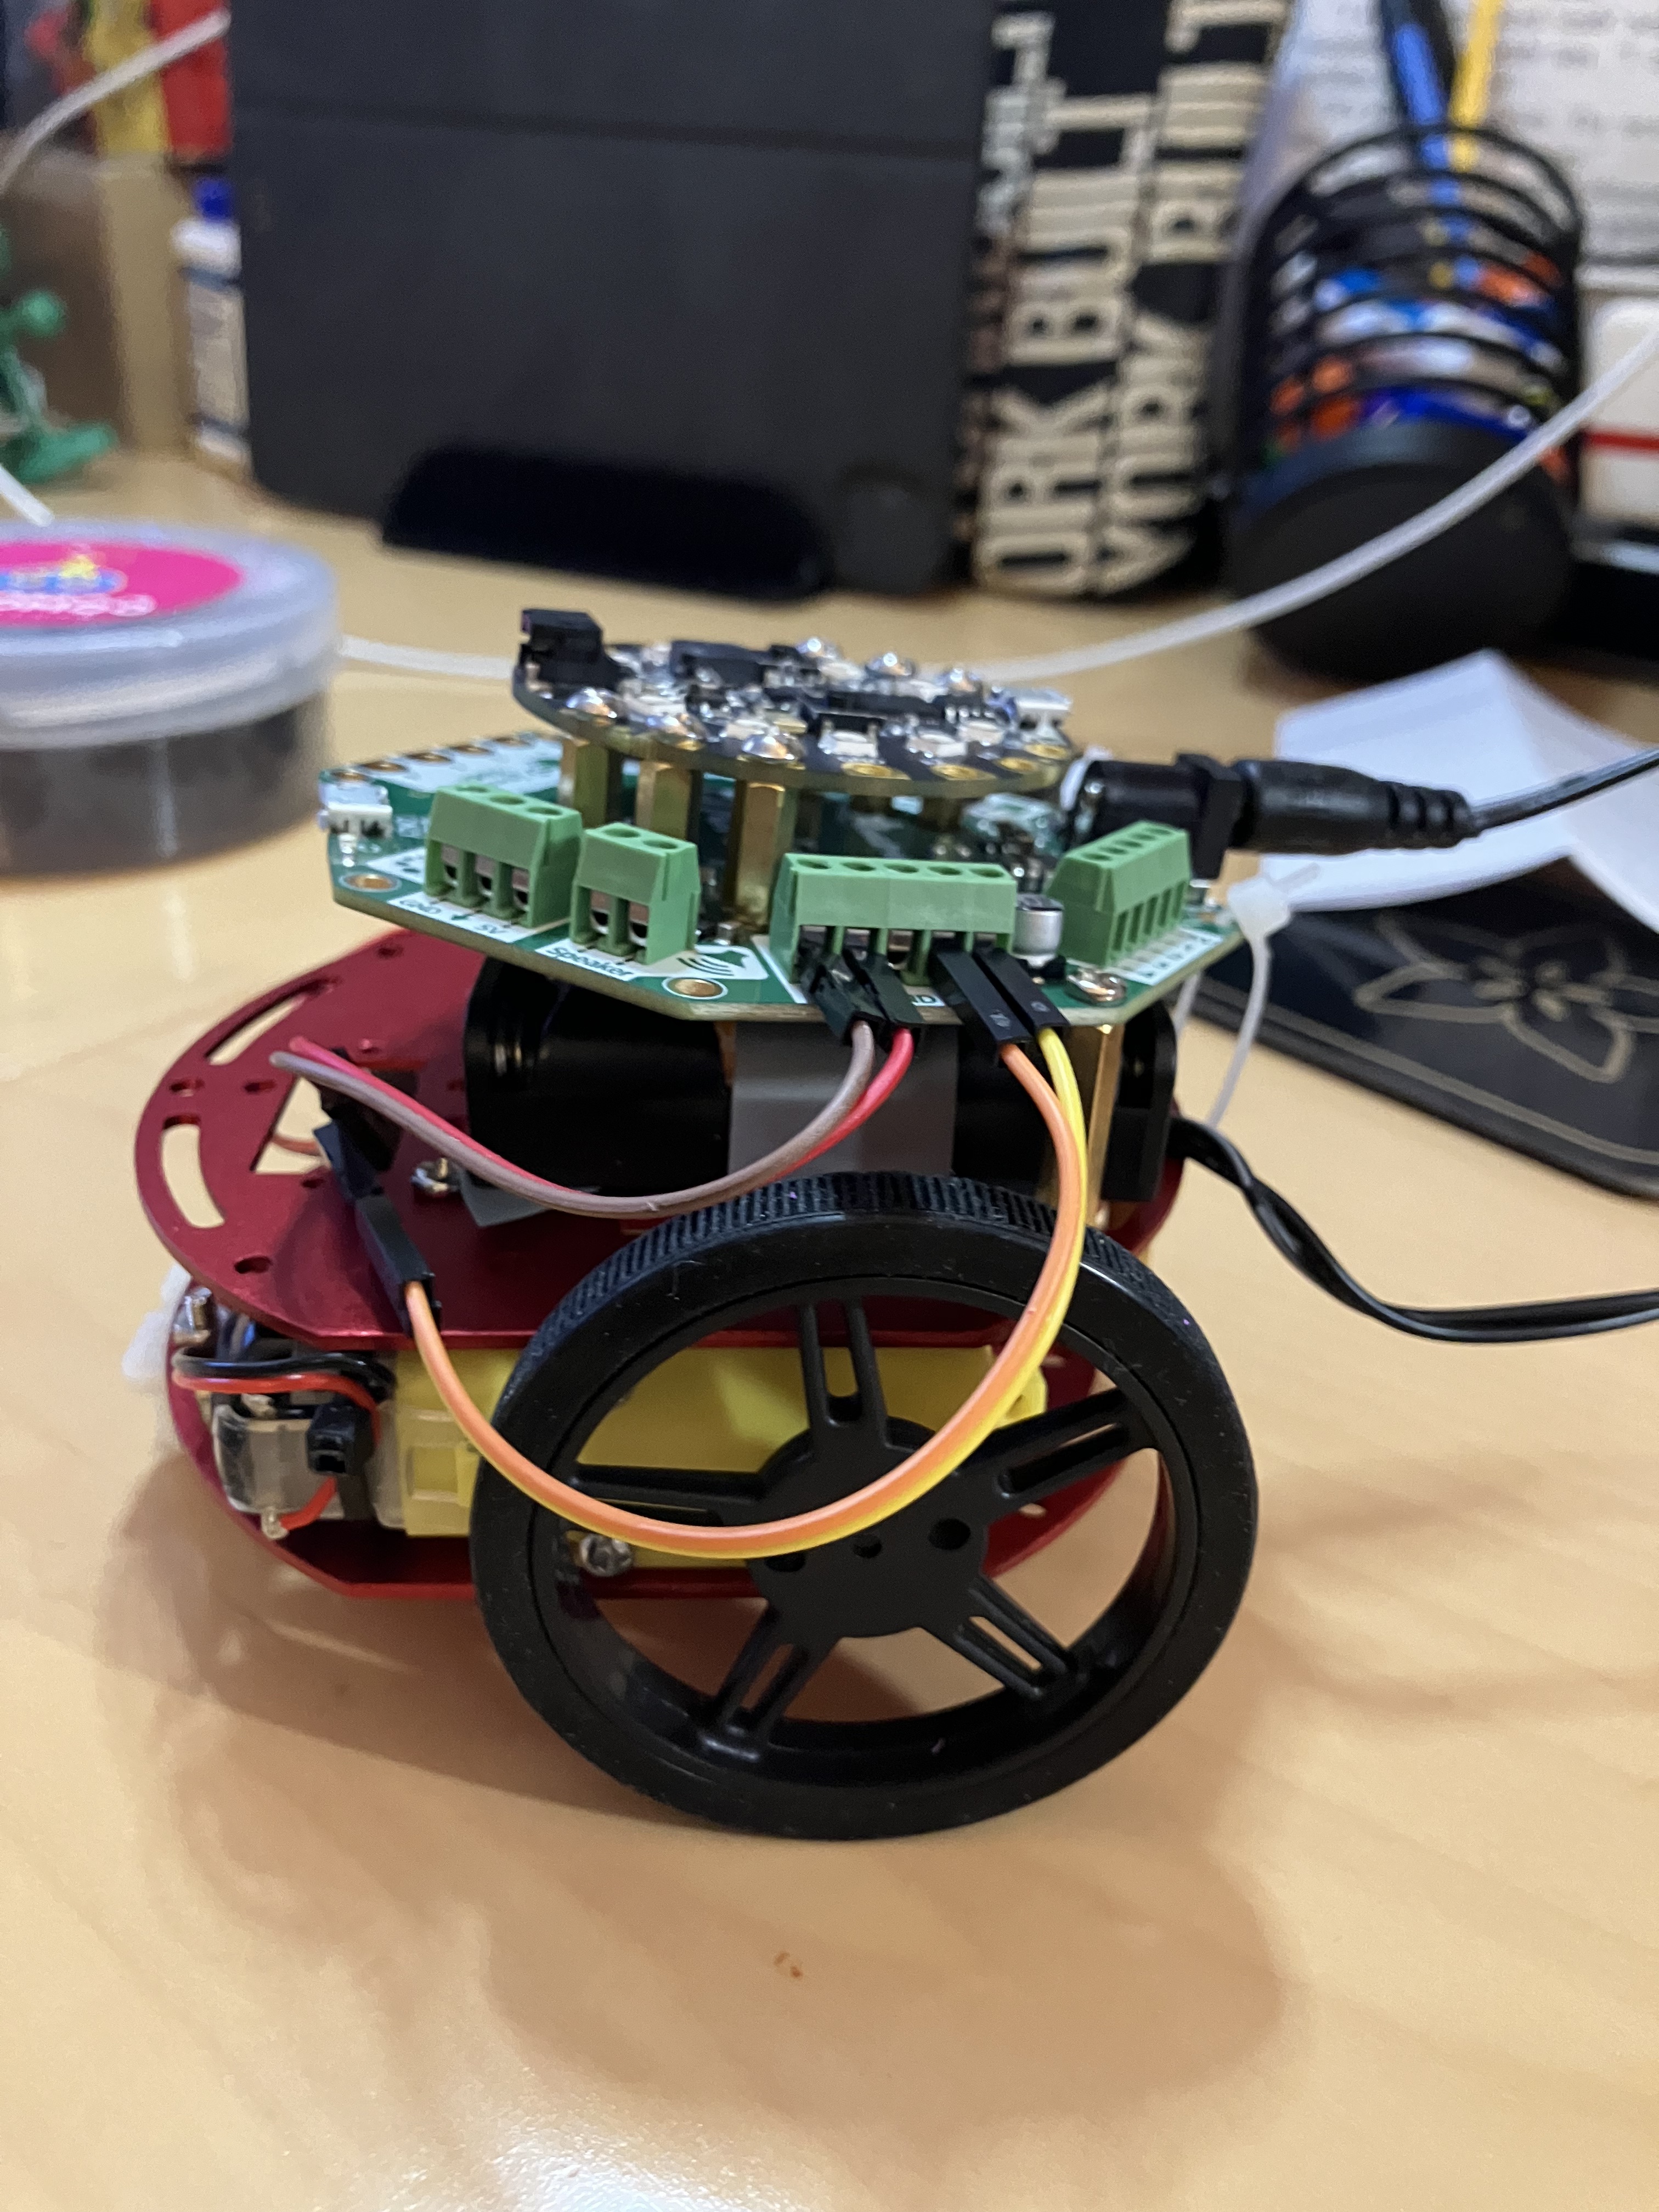
Start by assembling the chassis according to directions, and then attaching your battery pack, CPX, and CRICKIT. Here is what mine looks like assembled:


Adafruit has excellent directions on how to attach and code the DC motors.
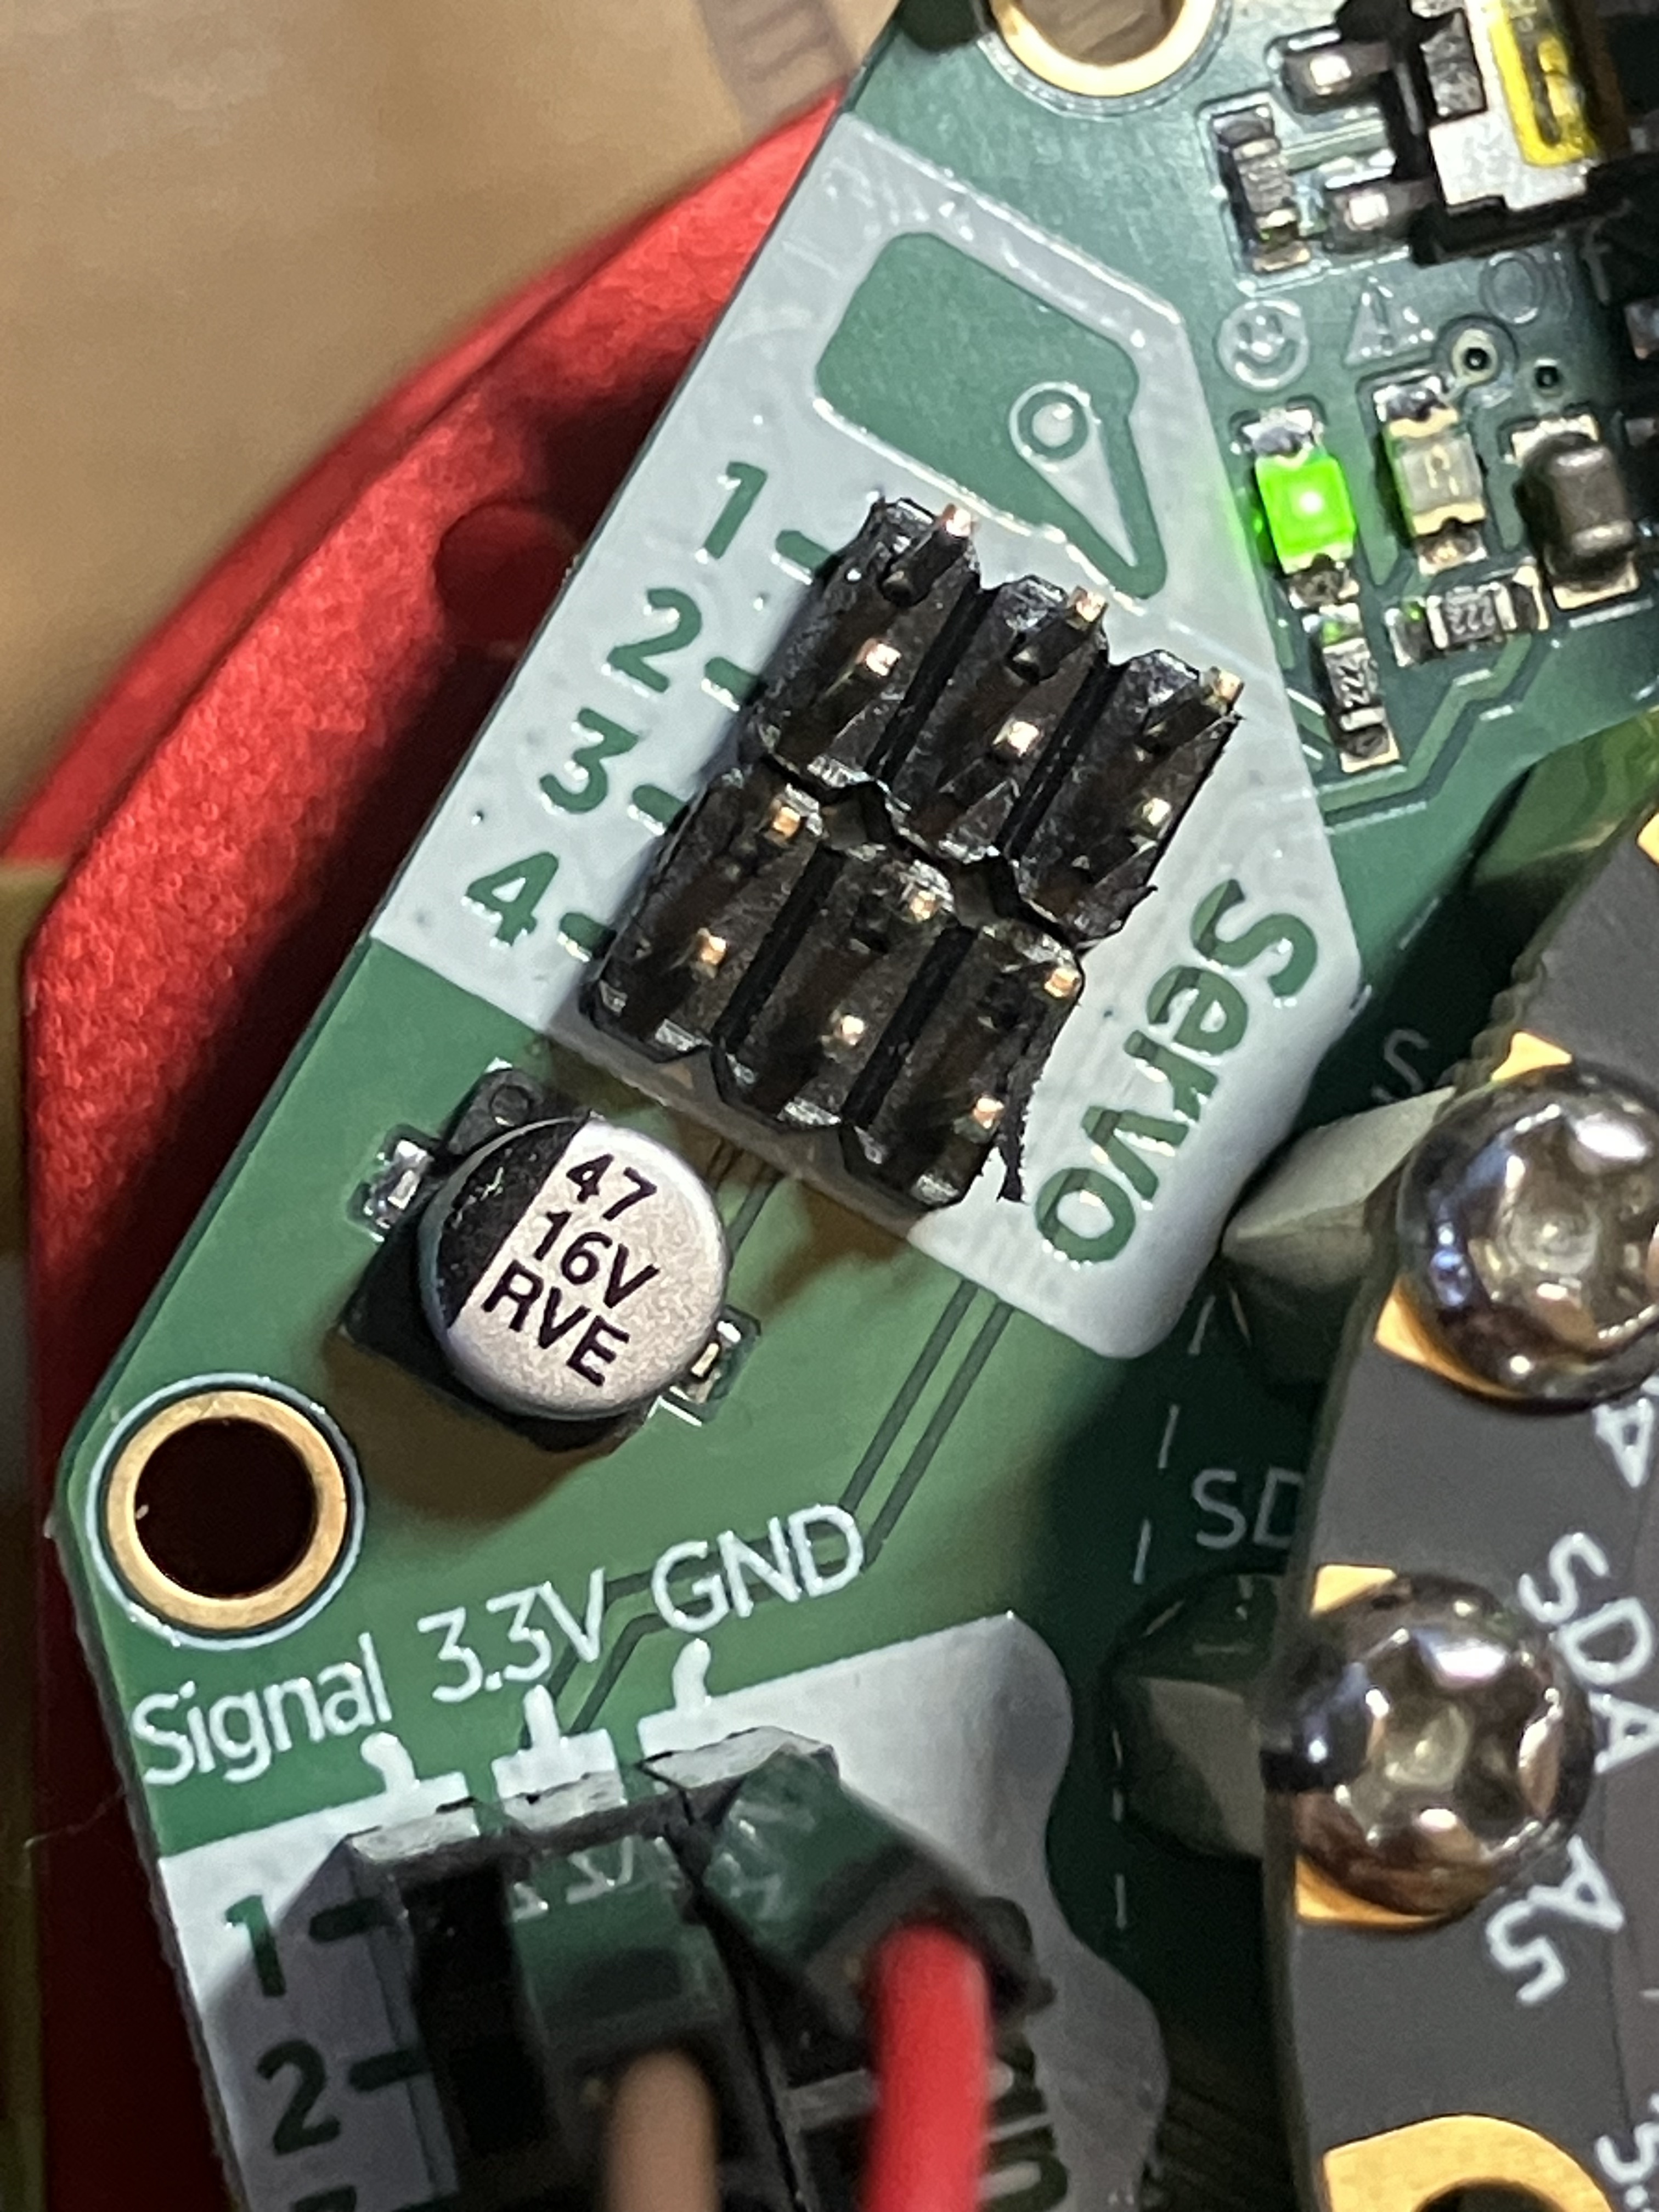
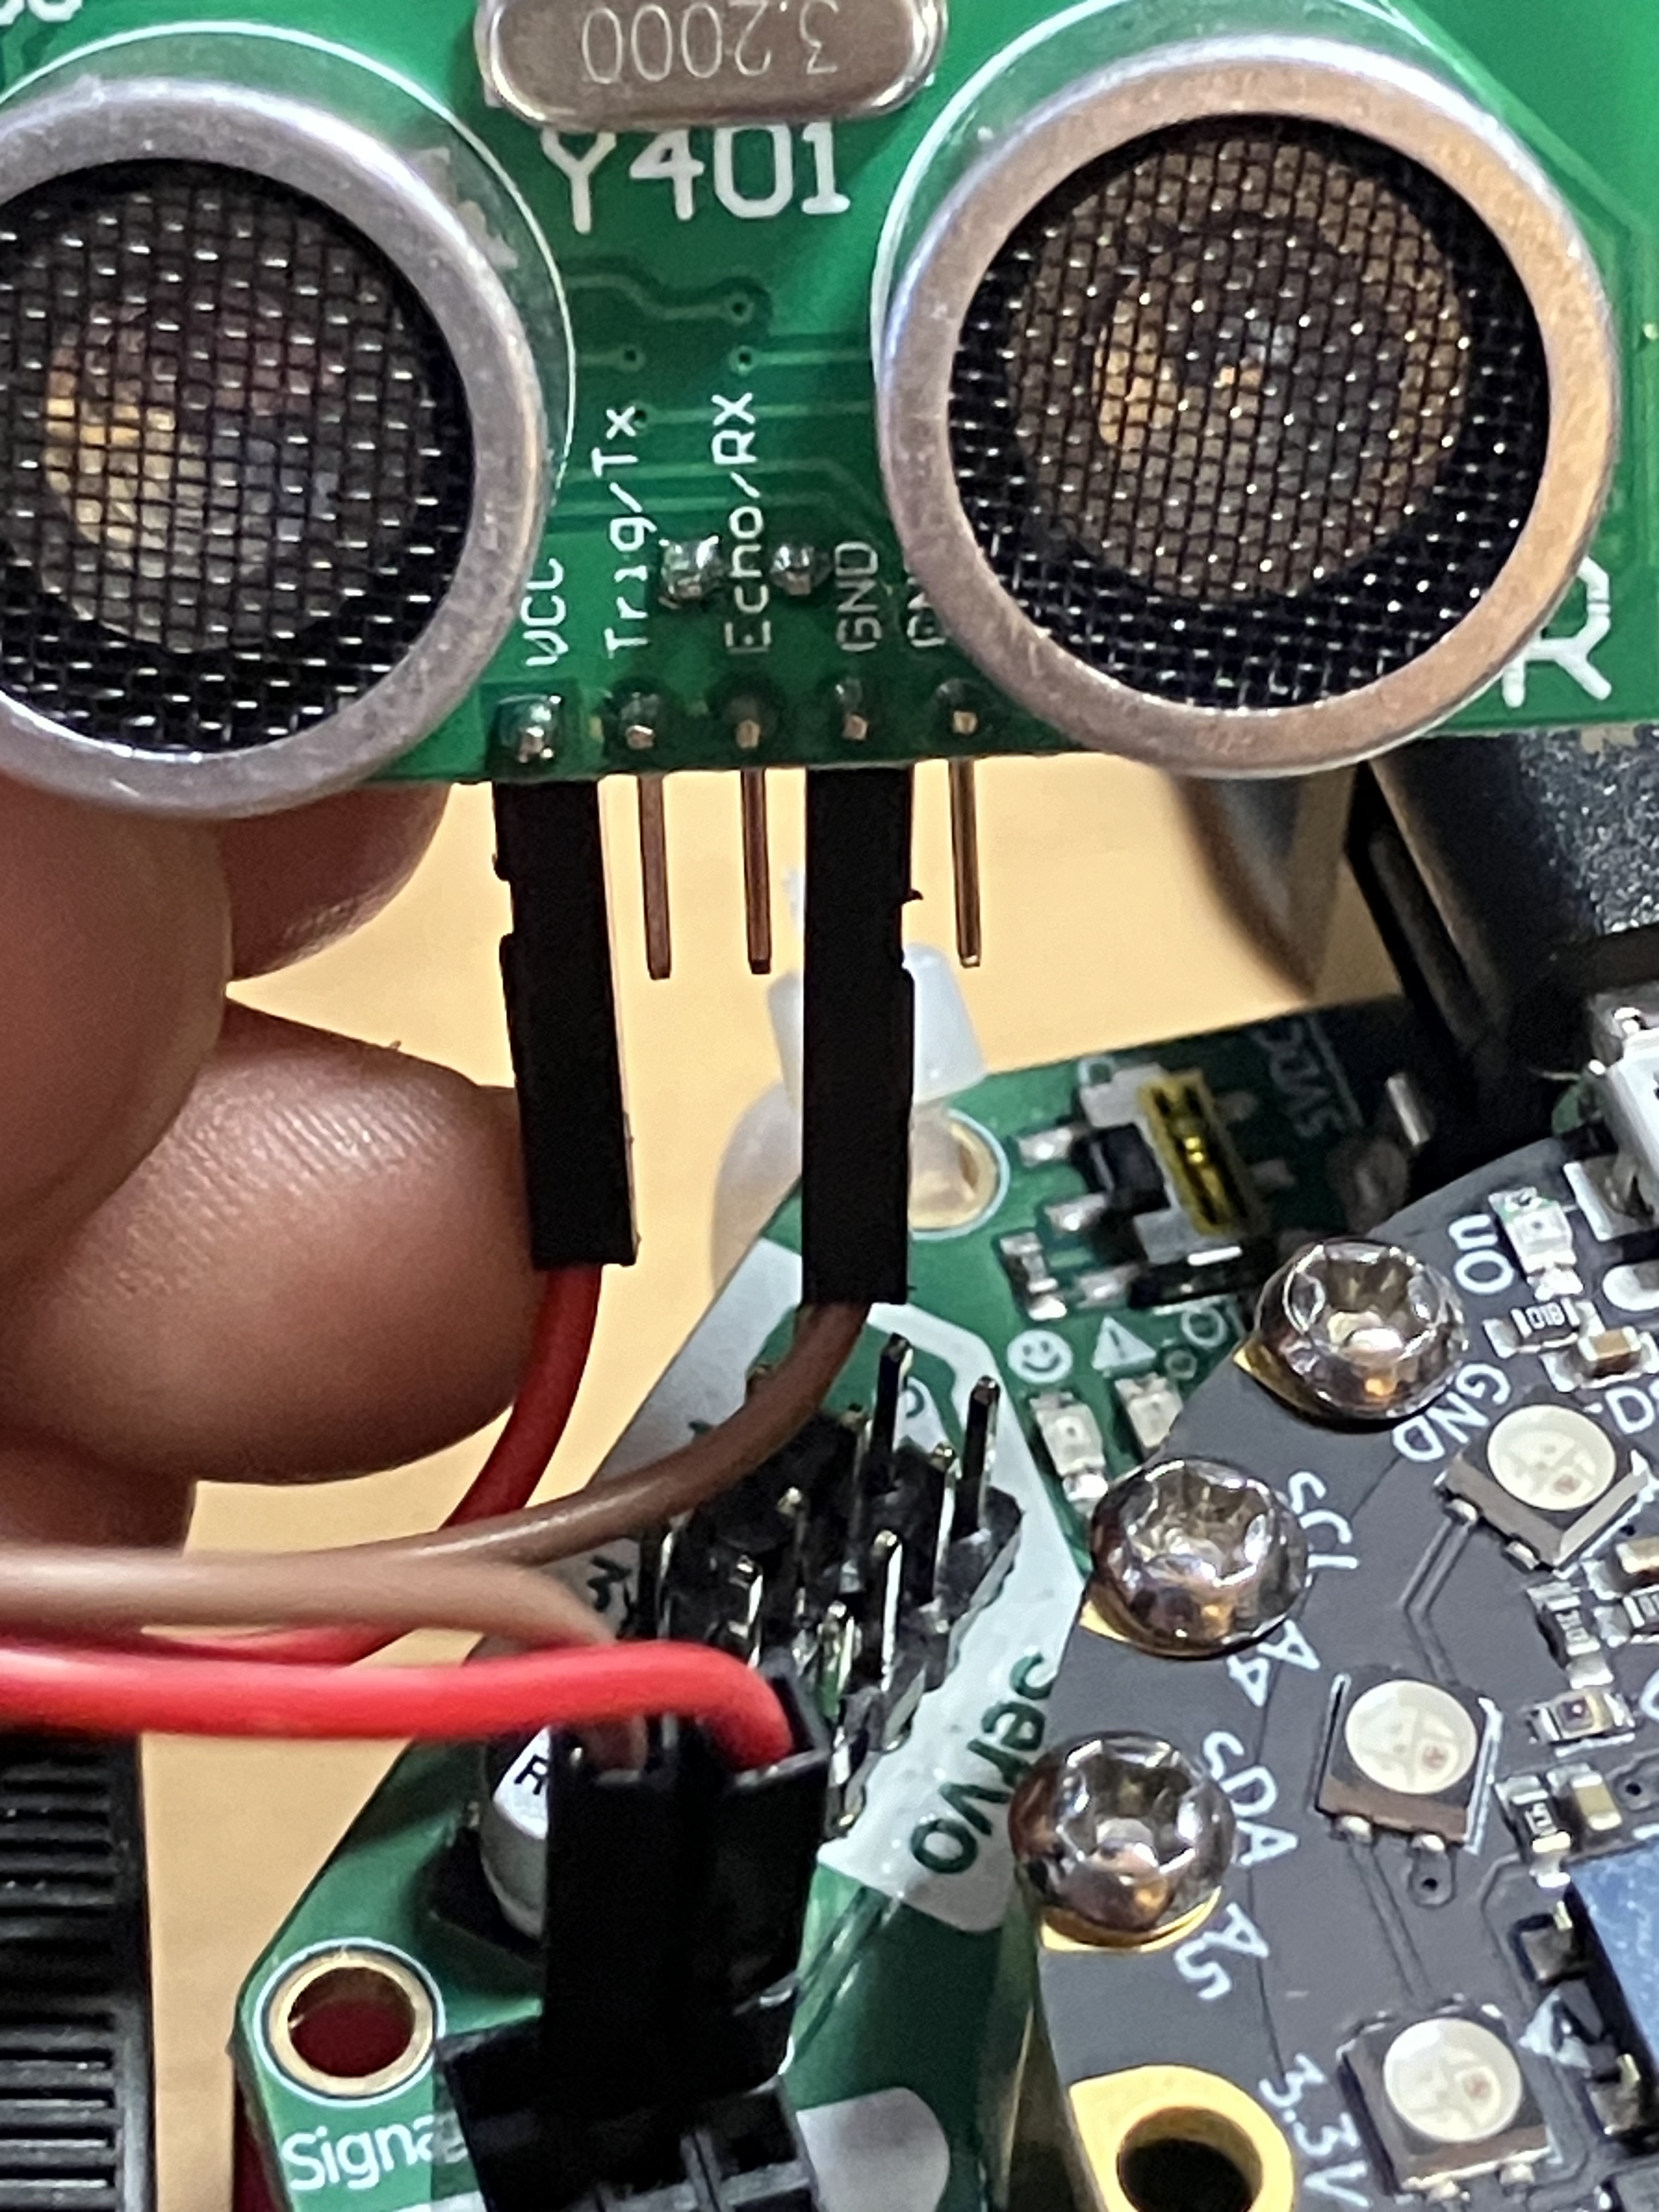
We are going to add “eyes” using the US-100 sensor. First, attach two jumper extension wires to the VCC and GND pins on the US and then to the 3.3V and GND signal box on the CRICKIT:
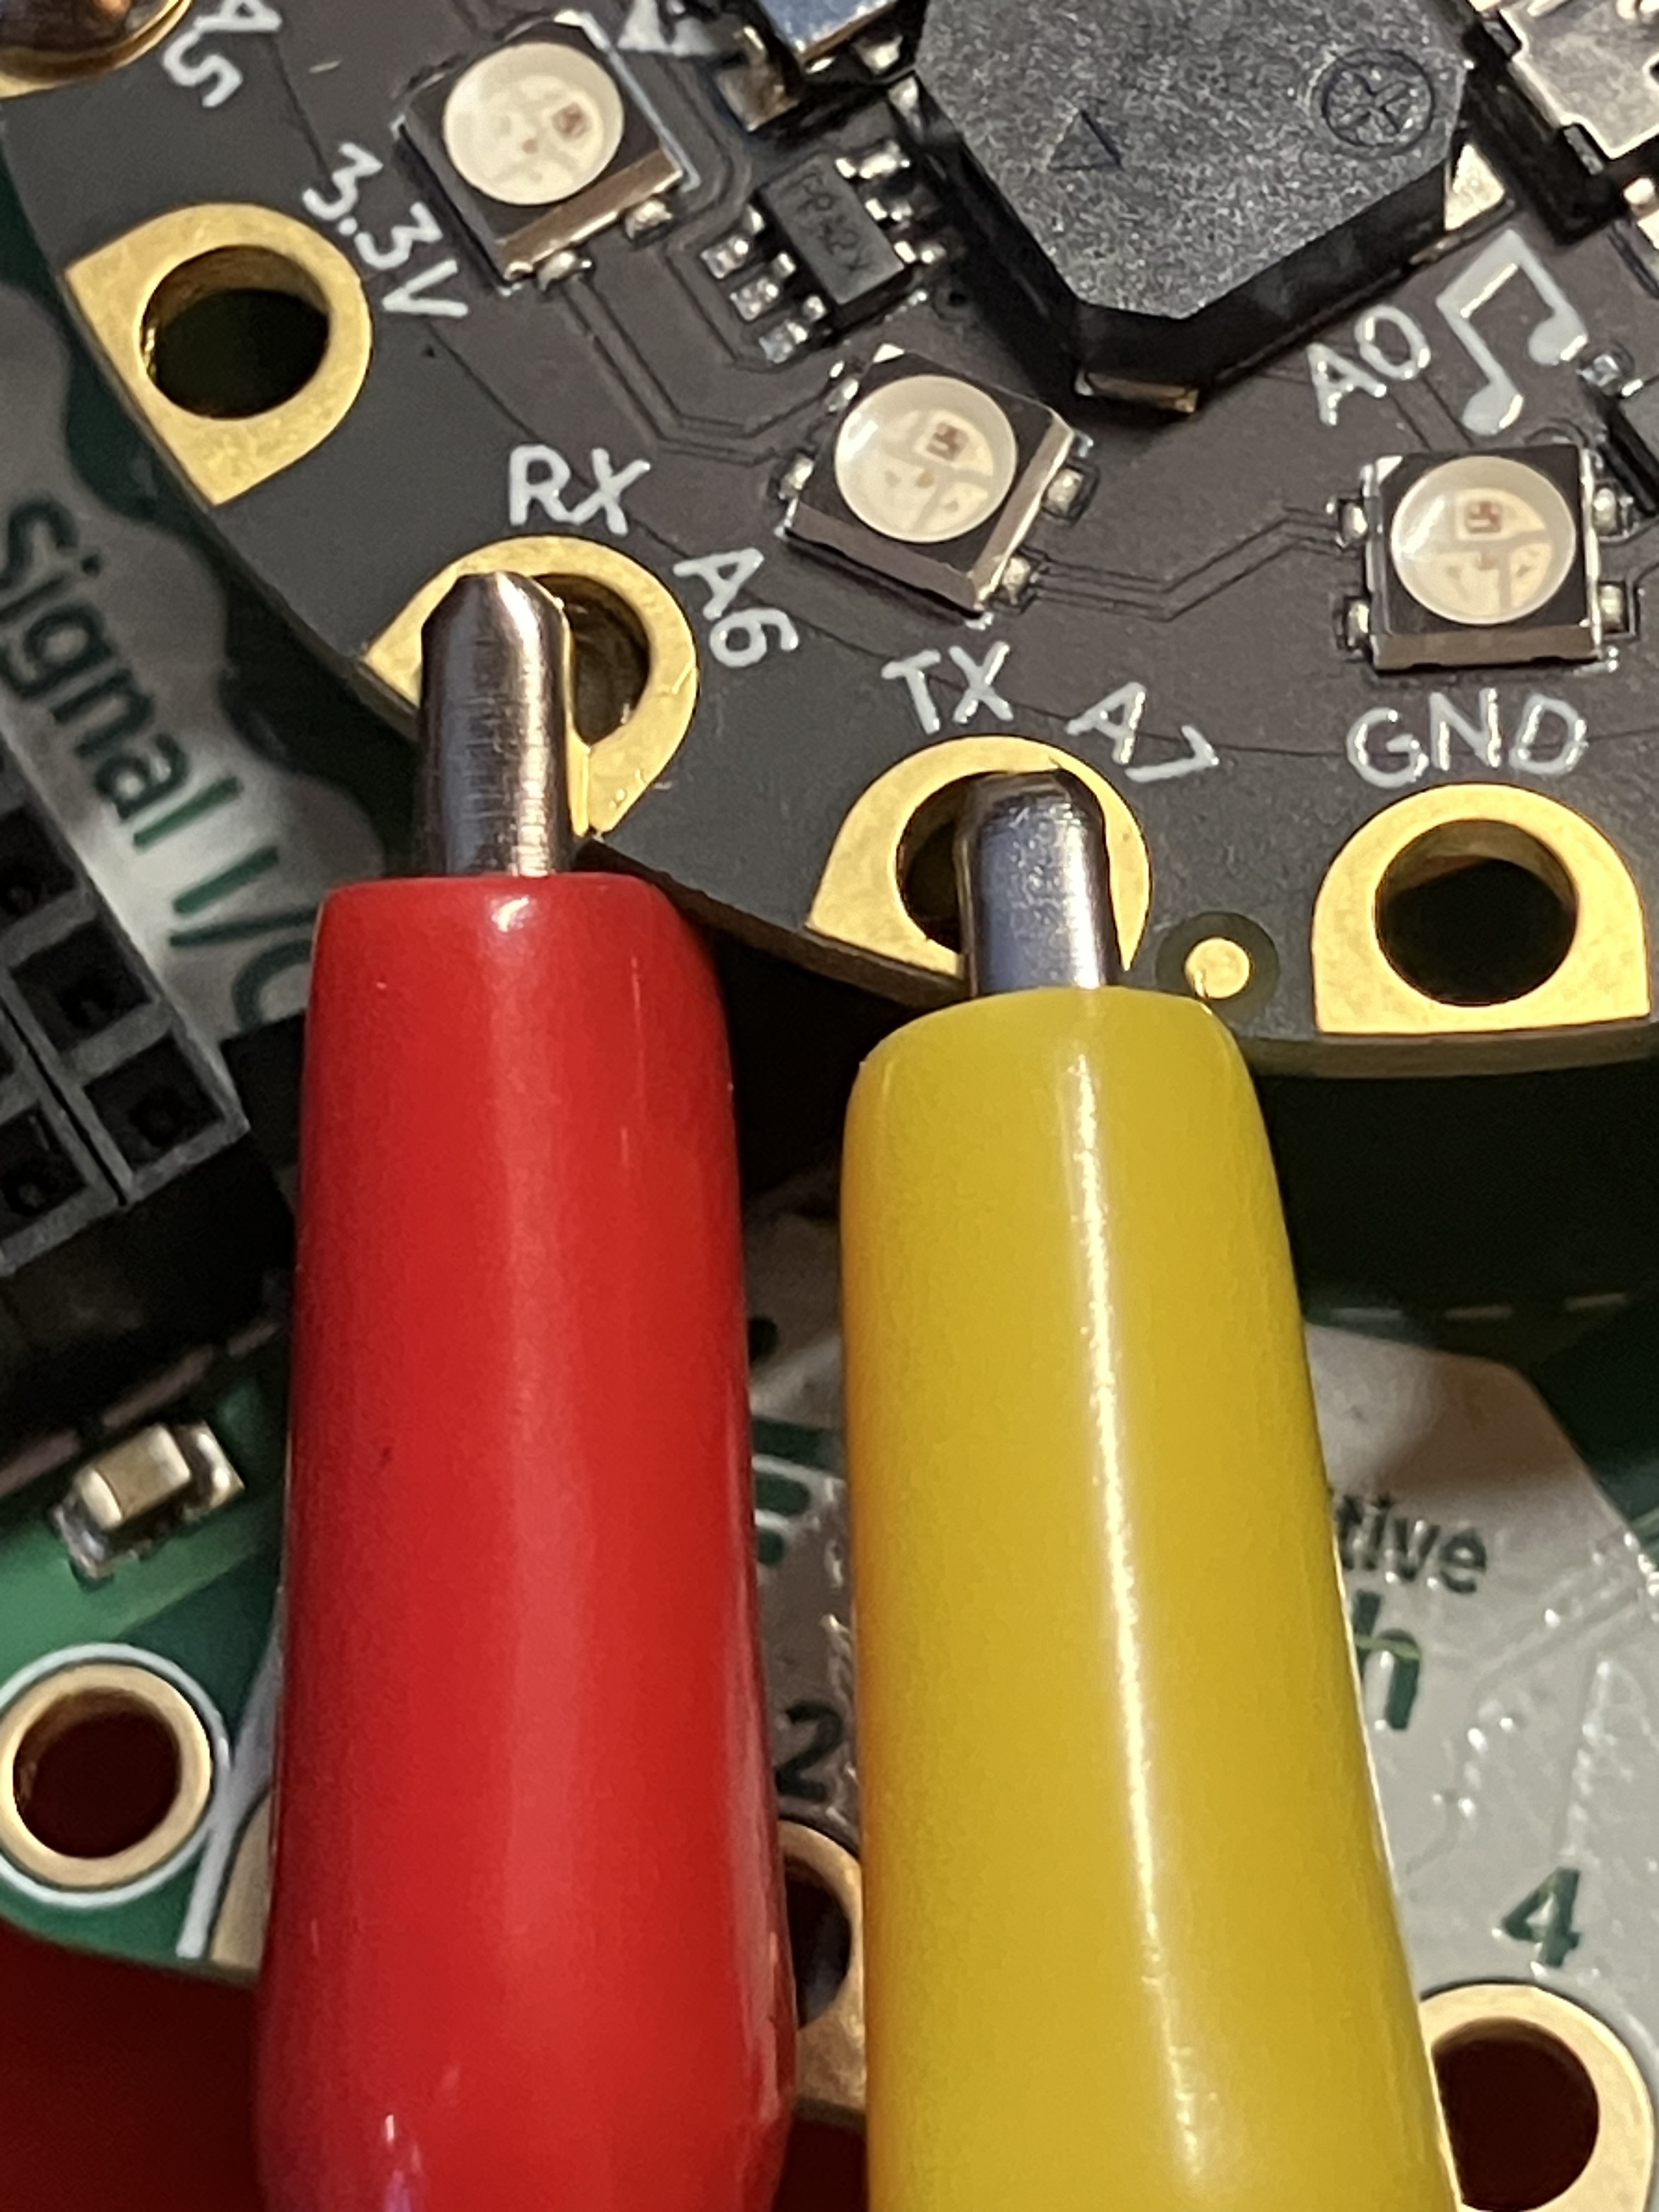
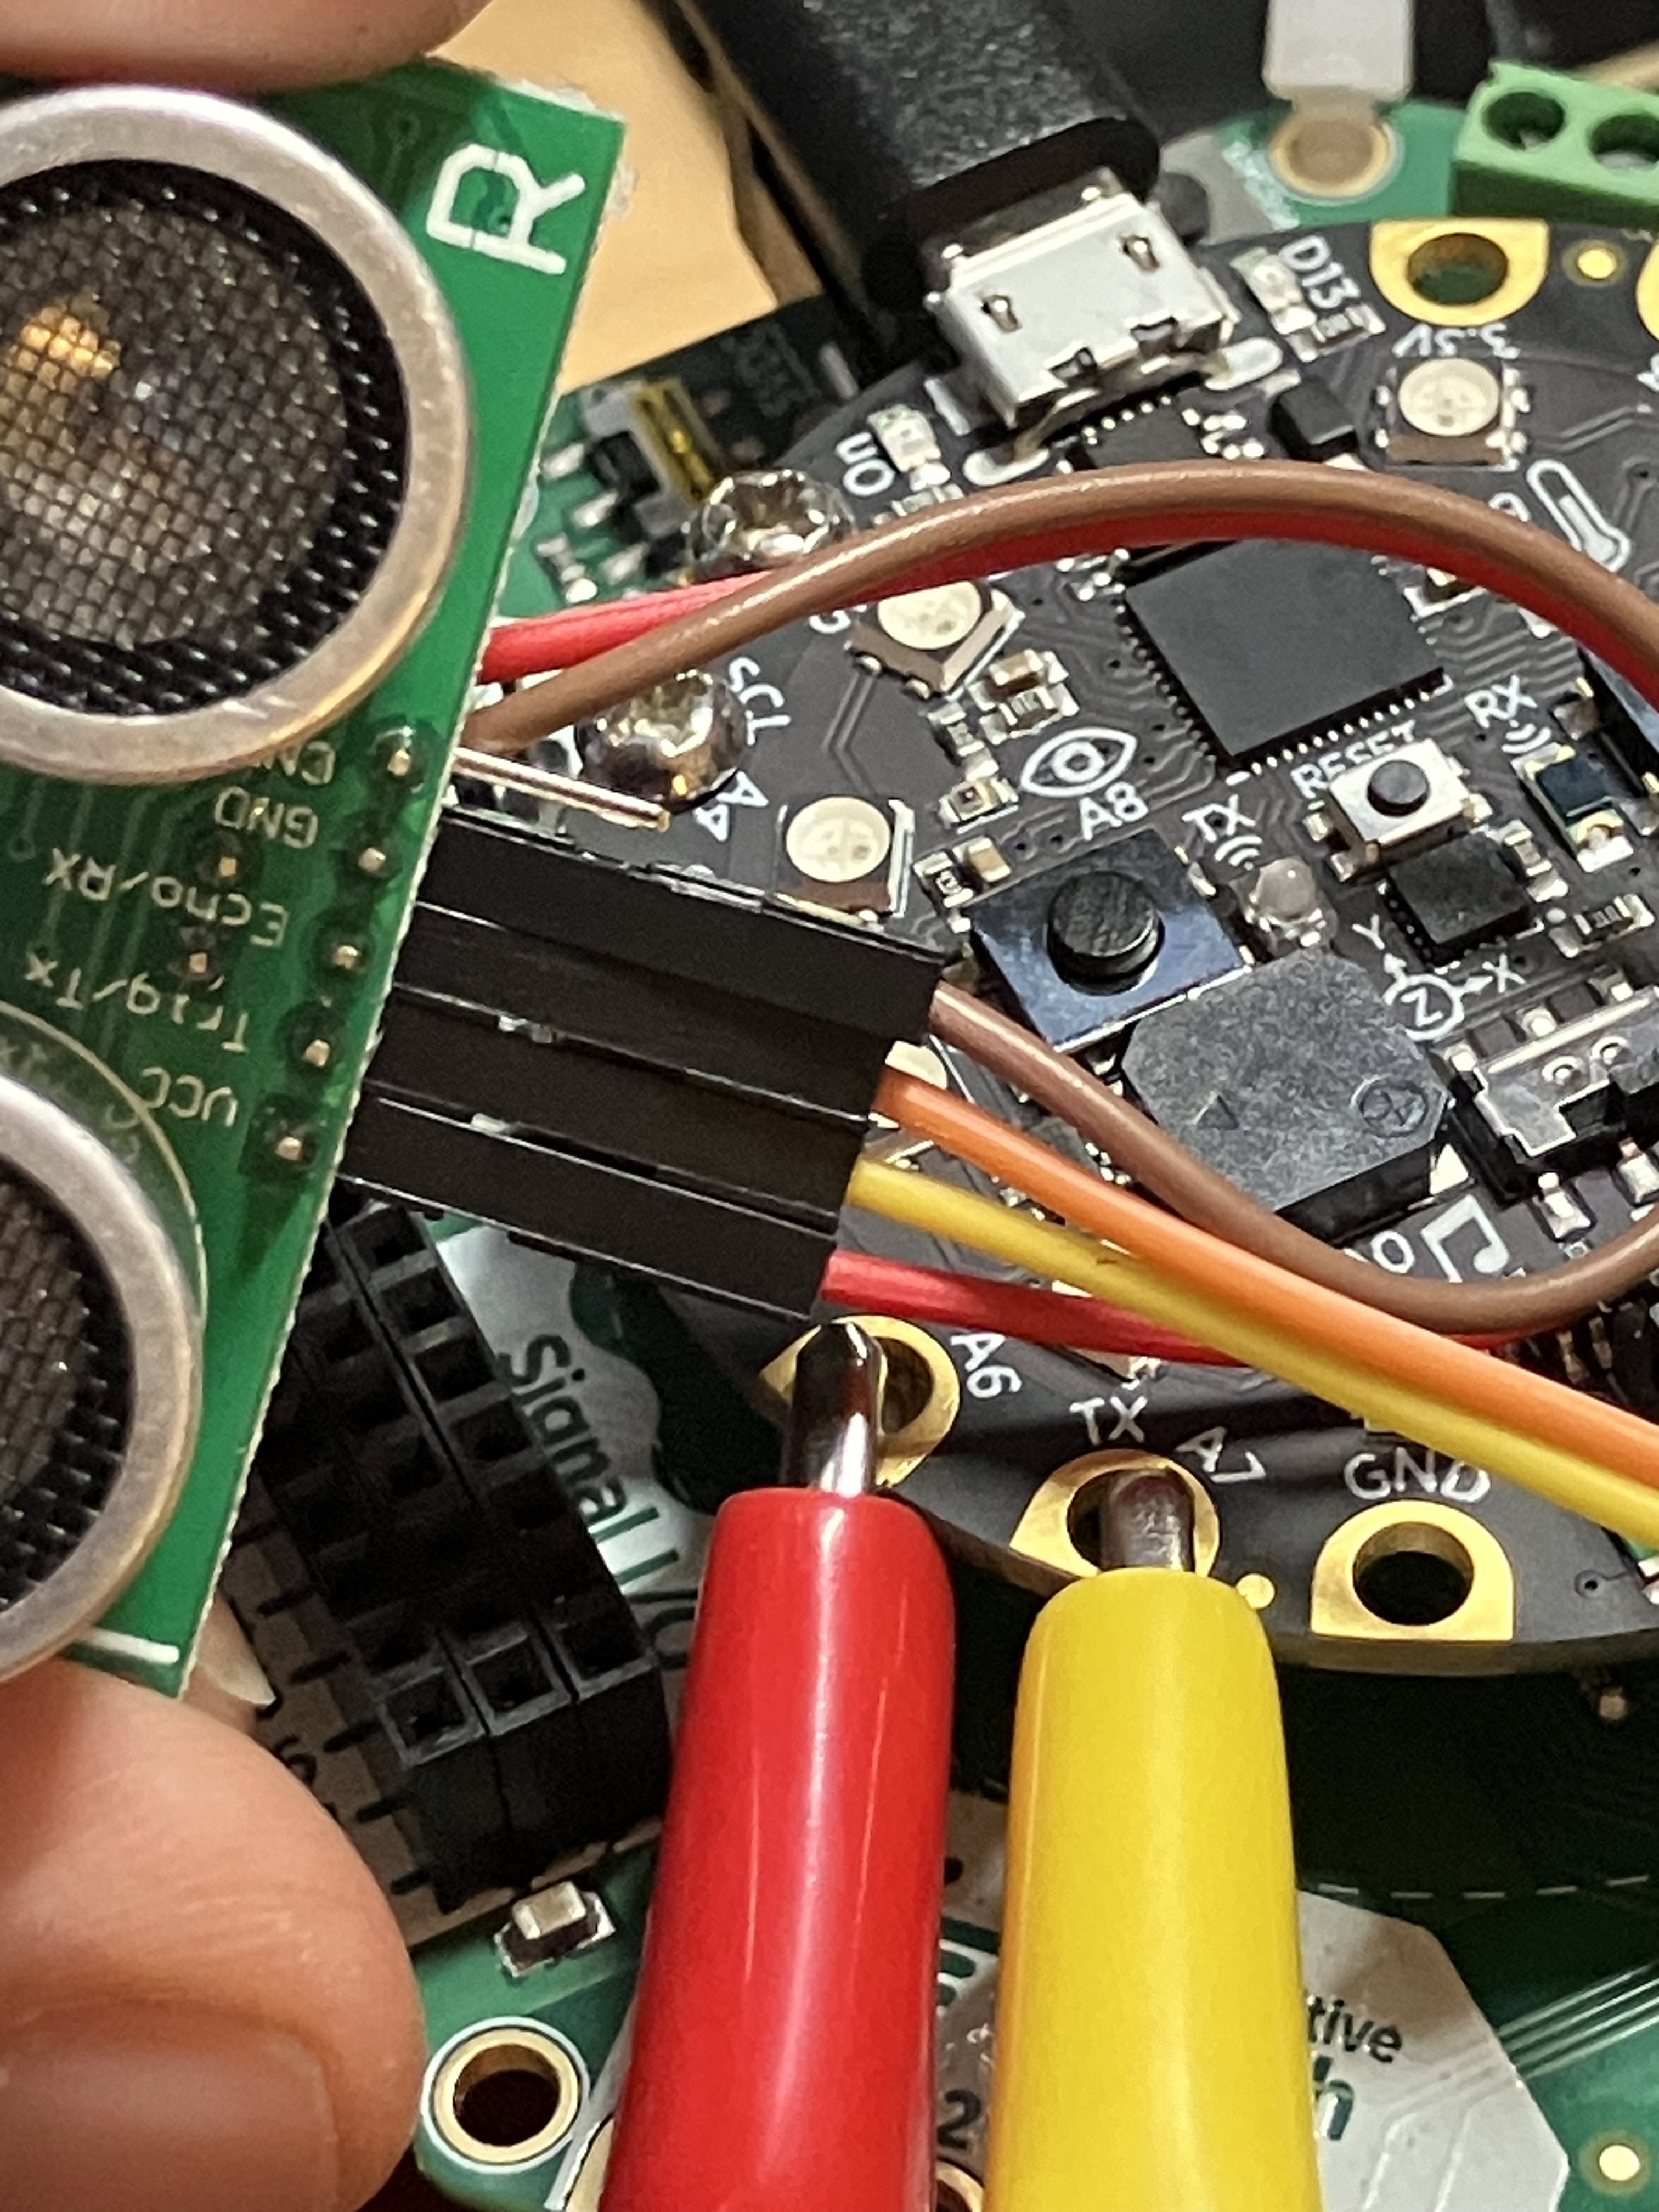
Then, using a combination of alligator clips and jumper cables, attach the US-100 directly to the CPX: Trig/TX pin to the TX/A7 pad and Echo/RX to the RX/A6 pad:
You’ll need the correct library, put that on the CPX:

Now, open up your editor (I prefer Mu) and put in this test code as the code.py file:
import time
import board
import busio
import adafruit_us100

uart = busio.UART(board.TX, board.RX, baudrate=9600)

us100 = adafruit_us100.US100(uart)

while True:
    print("-----")
    print(f"Temperature: {us100.temperature}°C")
    time.sleep(0.5)
    print(f"Distance: {us100.distance} cm")
    time.sleep(0.5)
Save the file. Now make sure your CPX and your CRICKIT both have power! The US-100 is drawing power from the CRICKIT board, so if you are using a battery pack you’re going to want to plug it in and turn it on. Once you’ve confirmed power, open the serial connection and you should see a stream of data. Put your hand in front of the sensor to make sure it’s reading properly – the most common error is wiring up the TX/RX cables backwards, so if the data looks wonky, check those first.
Once you have confirmation that your US-100 is wired and measuring distance, you can use it to help your little bot avoid obstacles. Here’s a sample code:
import time
import board
import busio
import adafruit_us100
import random
from adafruit_crickit import crickit

# Initialize the US-100, make a variable so it's easier to type

uart = busio.UART(board.TX, board.RX, baudrate=9600)
us100 = adafruit_us100.US100(uart)

# make two variables for the motors to make code shorter to type
leftfoot = crickit.dc_motor_1
rightfoot = crickit.dc_motor_2

# now we write some functions for different types of movement that take time in seconds.


def RightTurn(r):
    leftfoot.throttle = .7
    rightfoot.throttle = 0
    time.sleep(r)


def LeftTurn(t):
    leftfoot.throttle = 0
    rightfoot.throttle = .7
    time.sleep(t)


def MoveForward(f):
    leftfoot.throttle = .7
    rightfoot.throttle = .7
    time.sleep(f)


def MoveBackward(b):
    leftfoot.throttle = -.7
    rightfoot.throttle = -.7
    time.sleep(b)


def Stop(s):
    leftfoot.throttle = 0
    rightfoot.throttle = 0
    time.sleep(s)


while True:
    dist = us100.distance
    if dist <= 10:
        Stop(0.2)
        MoveBackward(0.3)
        choice = random.randint(0, 1)
        if choice == 0:
            RightTurn(0.3)
        else:
            LeftTurn(0.3)
    else:
        MoveForward(0.2)