Today, we’re going to expand what is possible with our Bluefruit by adding a breakout board called a GIZMO. This uses the ports that are on the Bluefruit and connects to a second board with even more built in systems- in this case, three easy connect ports (called JSTs) for a variety of devices, and a full-color mini screen. Before we begin, make sure you are running the latest version of CircuitPython.
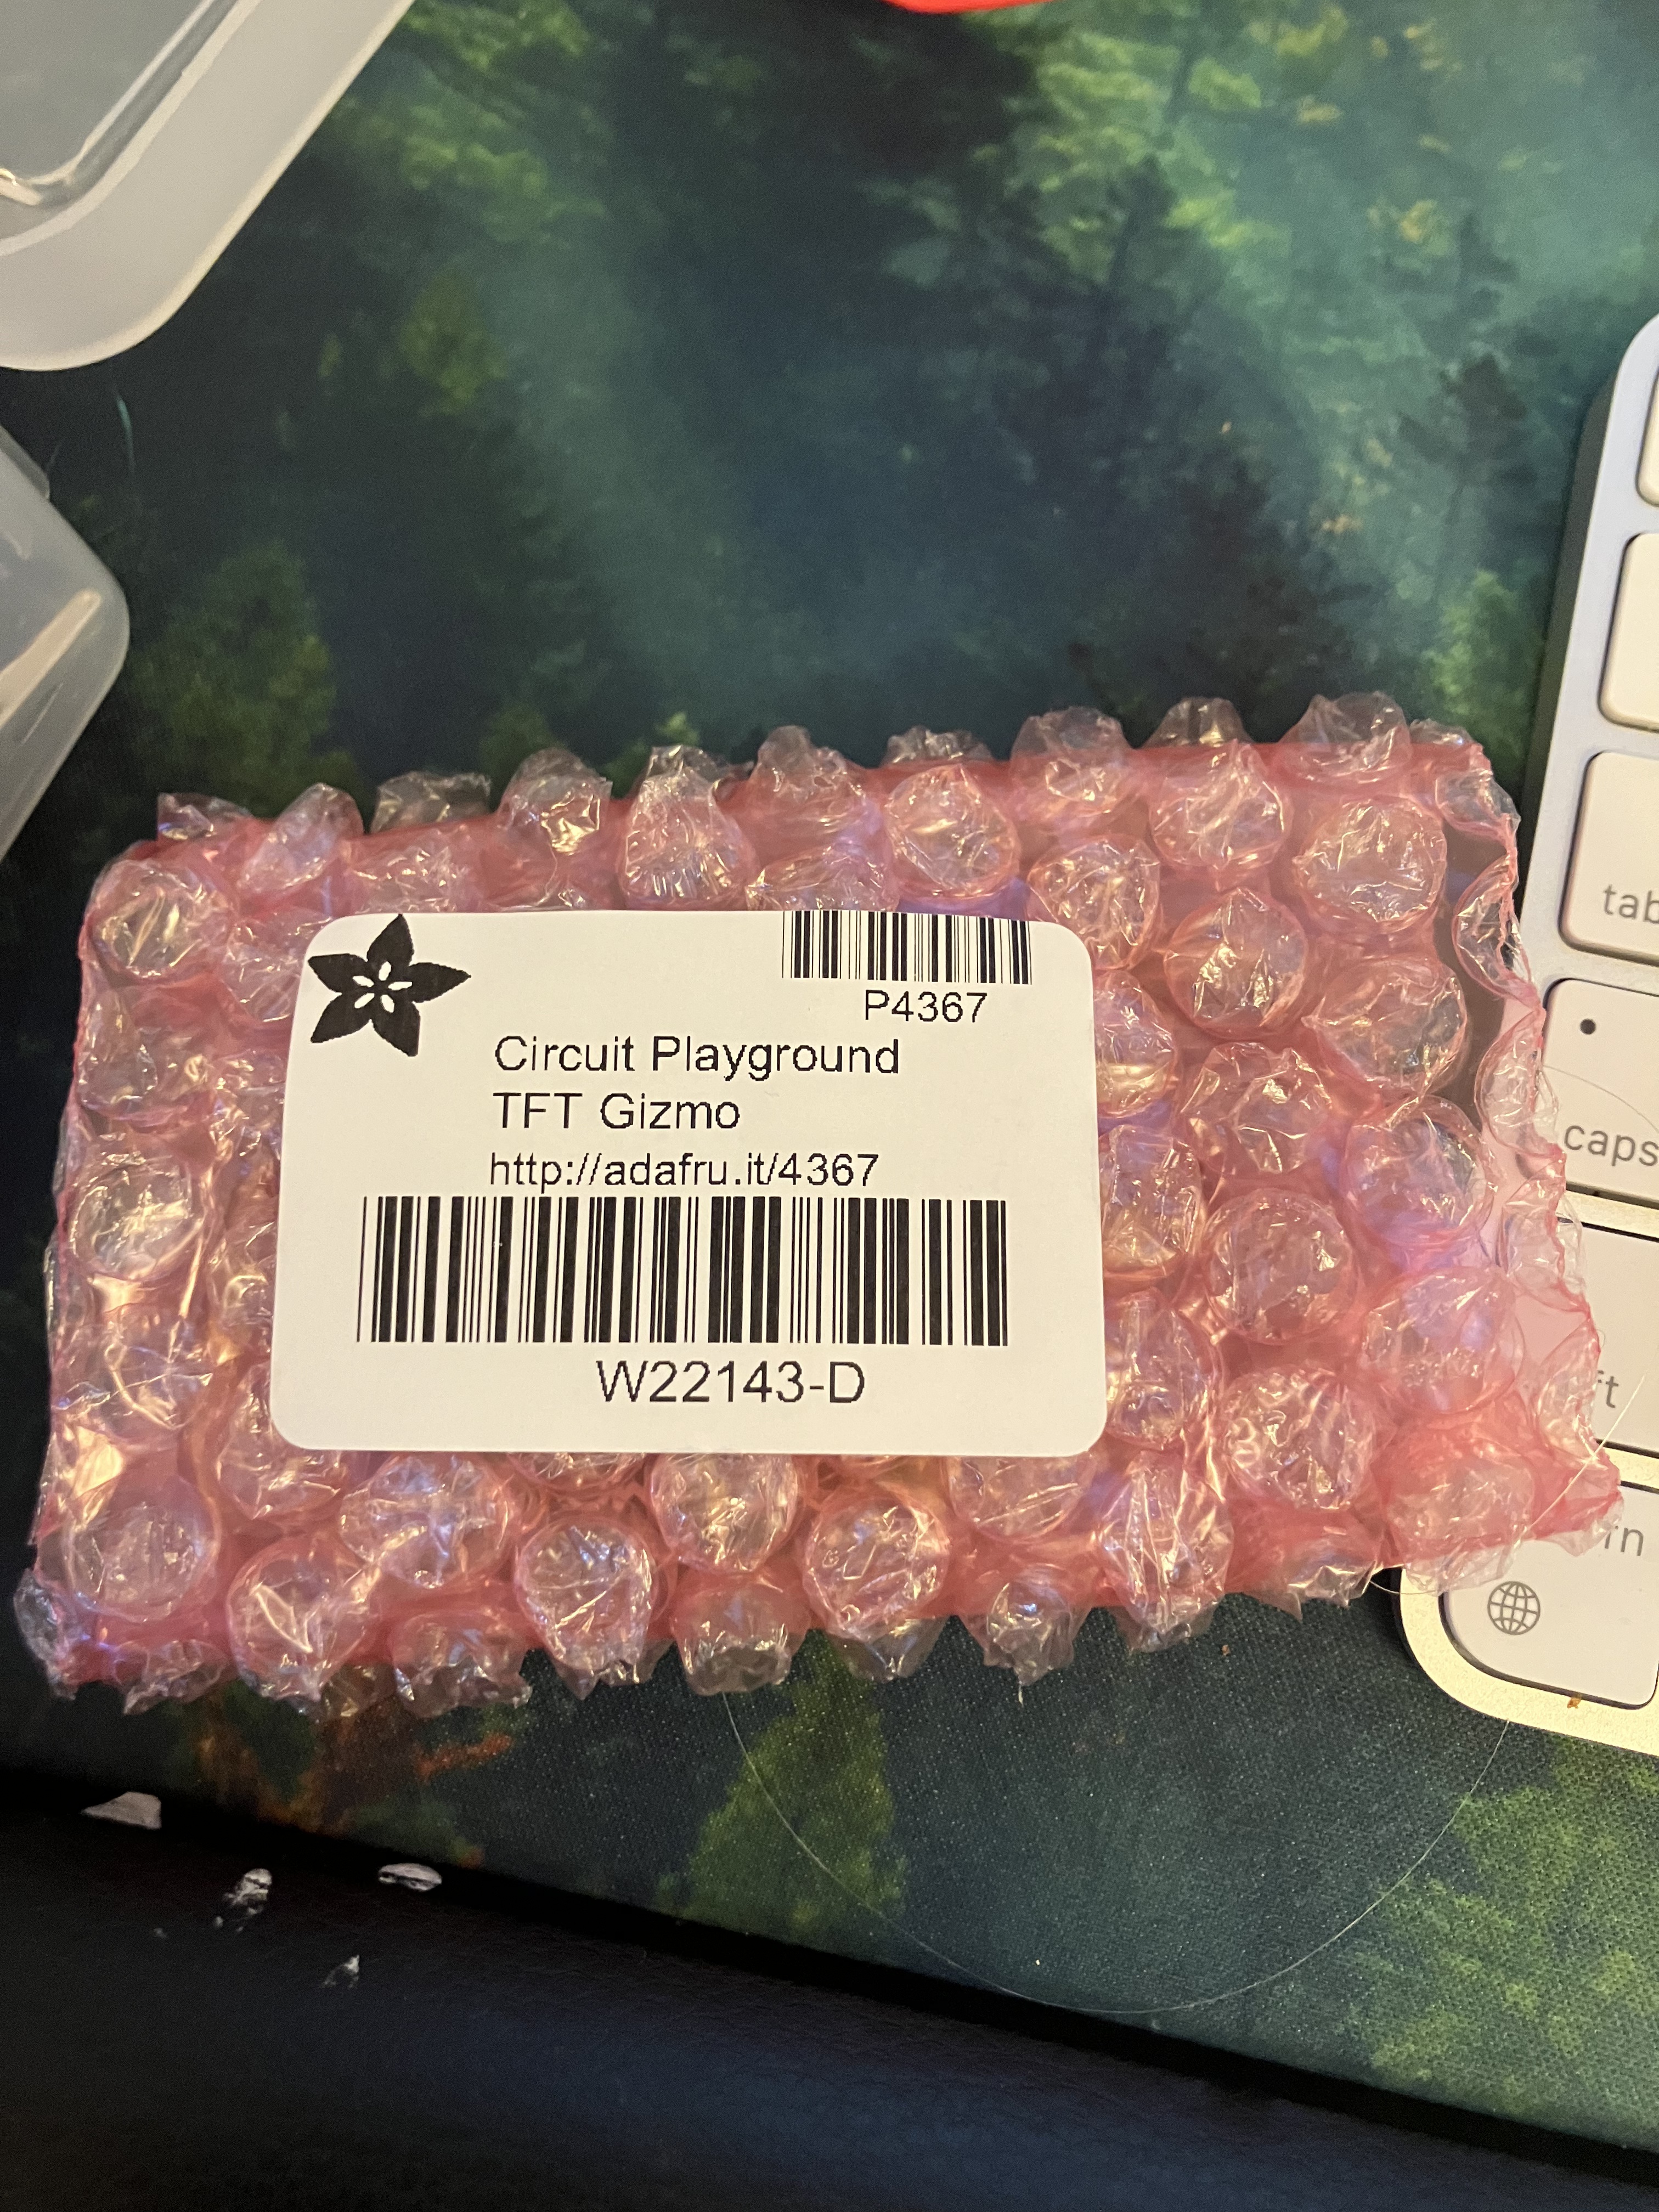
Go ahead and open up the GIZMO package, it’s a little pink plastic bubble wrapped item, and inside there is a circular board and a set of screws:
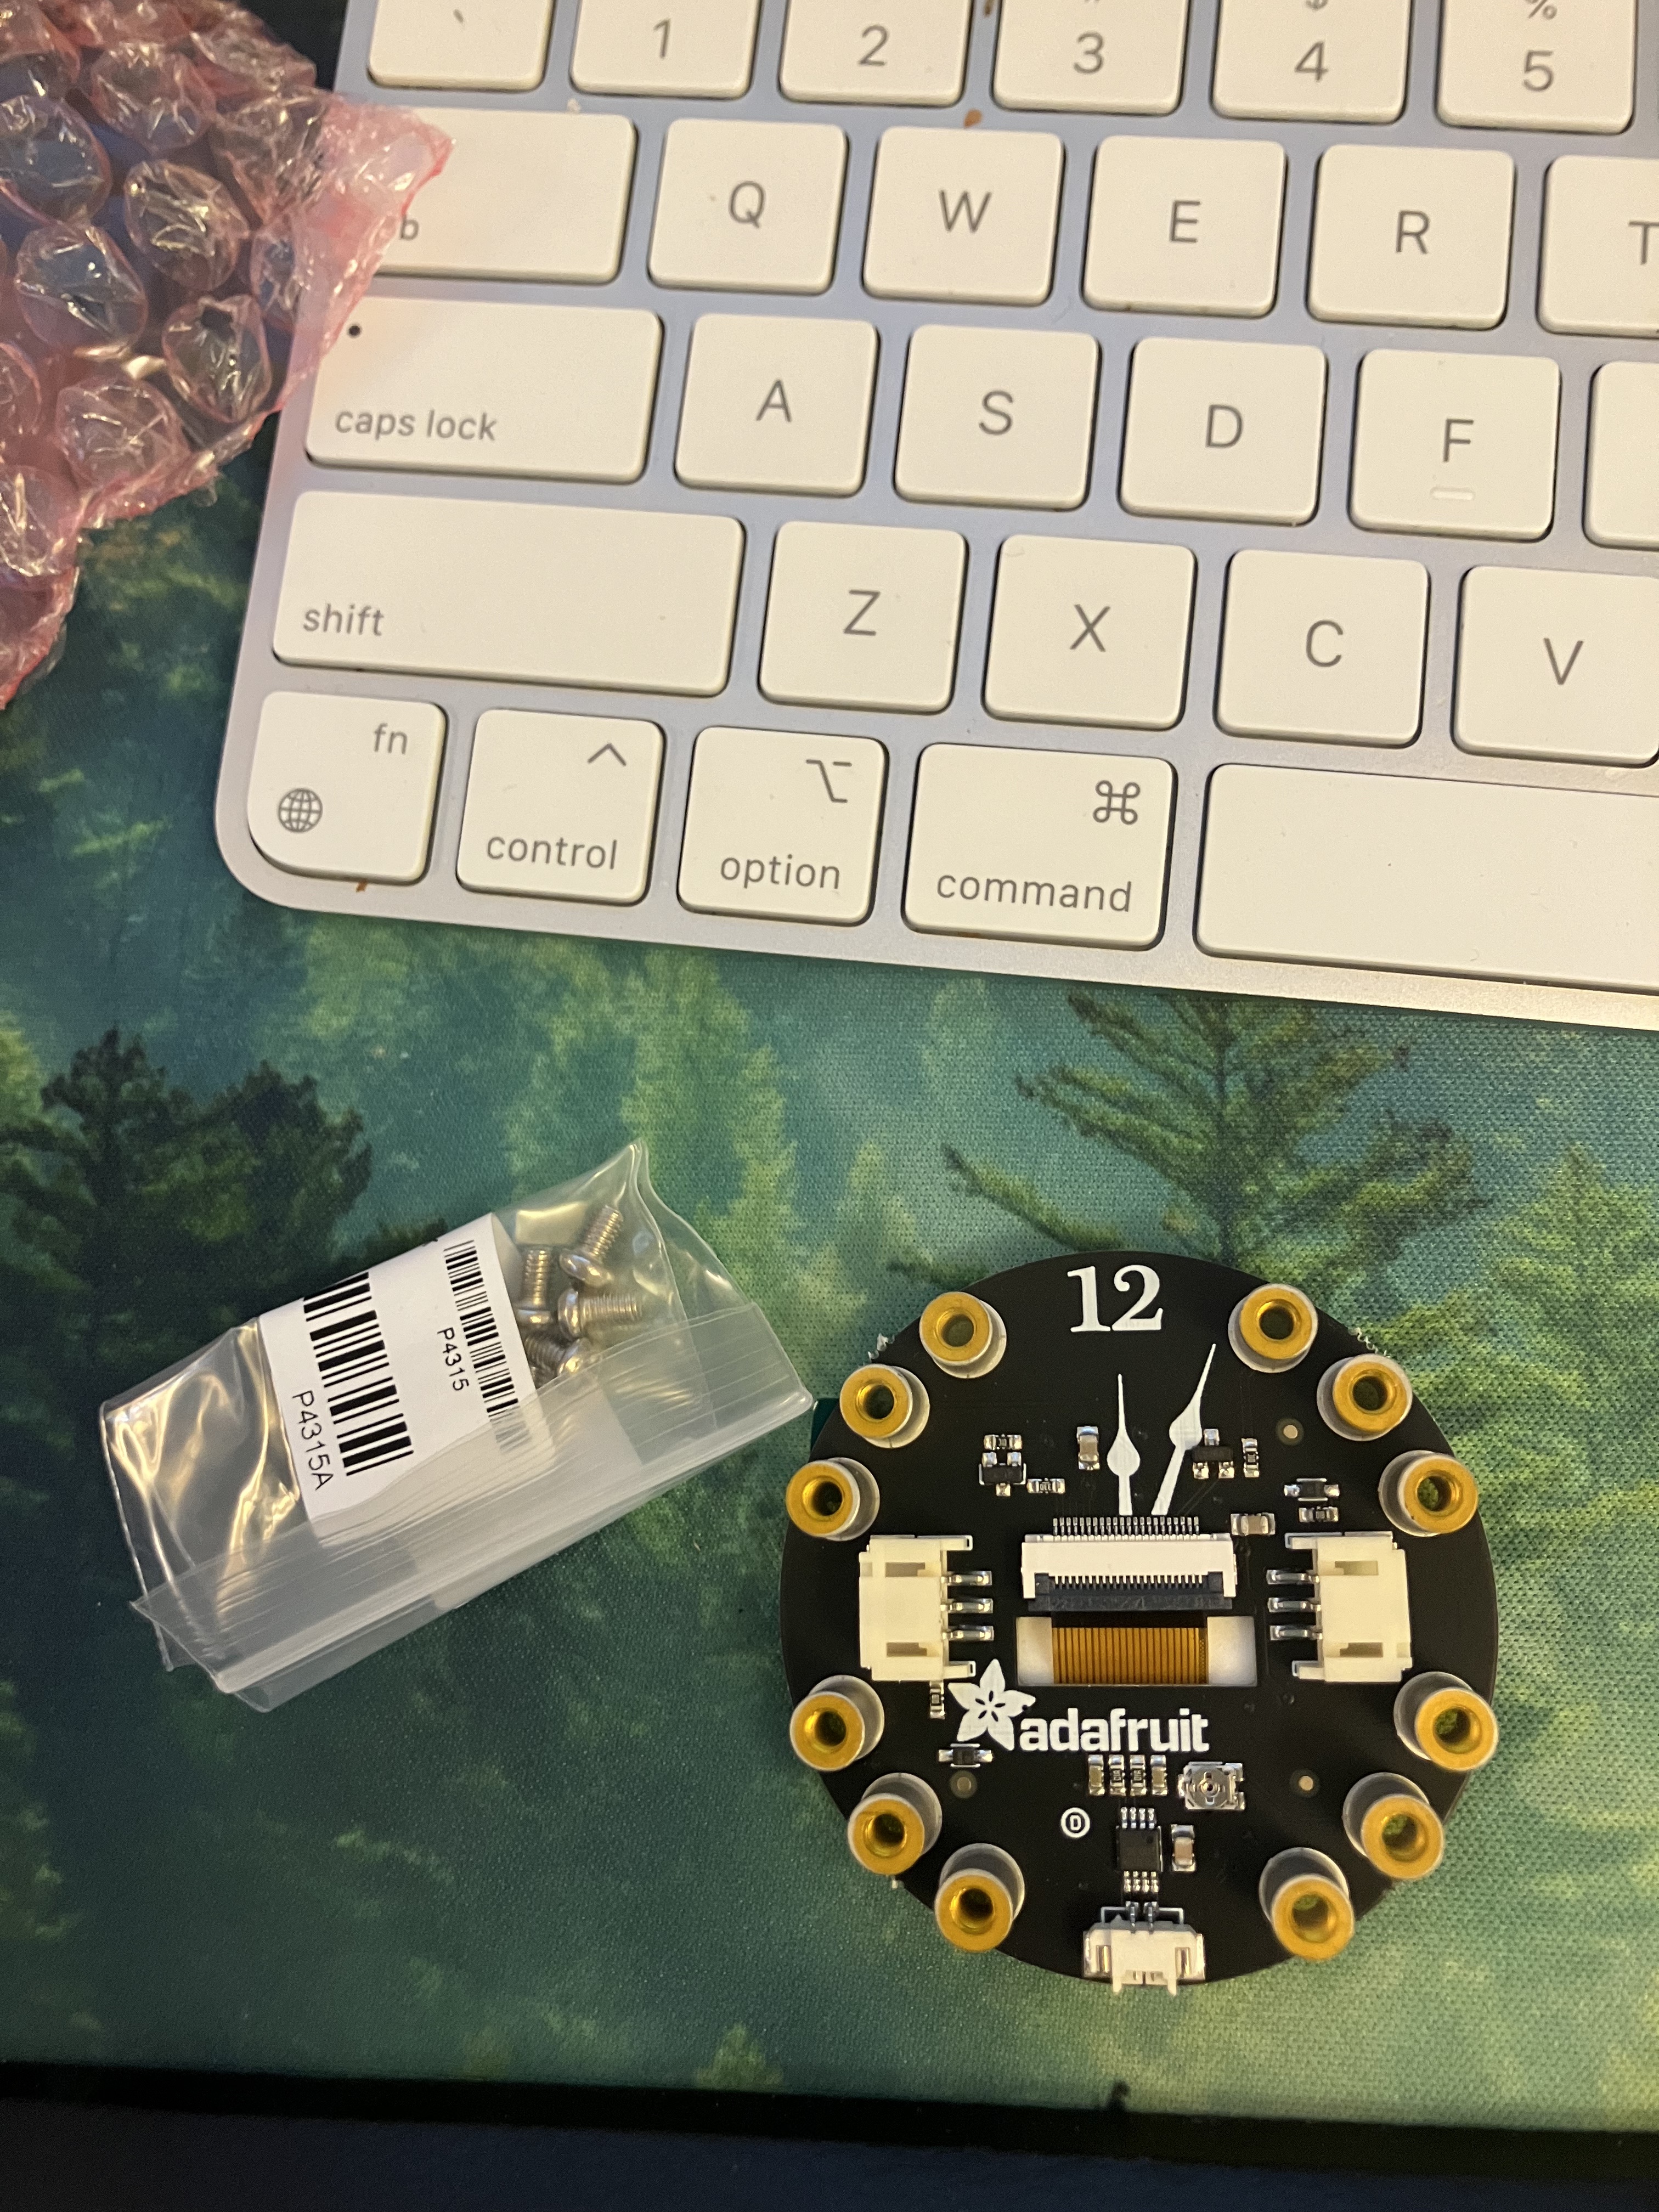
Place your Bluefruit on top of the GIZMO, making sure the USB port is over the 12 and the black JST power cord is facing you.

Use the 9 included bolts to attach the Bluefruit to the GIZMO, making sure you place them exactly as in this photo, starting with 3.3v at the top right, then A2, A 3, skipping GND, and continuing around that way.

Make sure all the bolts are tight enough- if you shake it, you should not hear any rattling. Now go ahead and plug it in to your computer, open up the Mu editor, and erase any code that is running. You’re ready to go.
External Neopixel Strip
We’re going to explore using the JST ports to add lights, specifically using the Neopixel library introduced in Lab 2. This time, however, we’re going to control an external set of lights, not just the built in ones. For more information about what this means, you can look at the guides for wiring and using NeoPixels from Adafruit. The GIZMO makes wiring super easy- so grab the strip of Neopixels from your box and plug it into the GIZMO on the side labeled A1:

The code is fairly simple and the same as what we have done before:
import neopixel
import board
import time

pixels = neopixel.NeoPixel(board.NEOPIXEL, 10)
pixelstrip = neopixel.NeoPixel(board.A1, 10)

RED = (255, 0, 0)
GREEN = (0, 255, 0)
BLUE = (0, 0, 255)
CYAN = (0, 255, 255)
MAGENTA = (255, 0, 255)
YELLOW = (255, 255, 0)
OFF = (0, 0, 0)

while True:
    pixels.fill(RED)
    pixelstrip.fill(GREEN)
We import three main libraries, set up two pixel objects (pixels, our onboard pixels, and pixelstrip, our new strip) and then make some variables with our common colors to make life easier later. The while True loop has two commands, turning the red lights on the board and the strip green. Click save, and your lights will come on.
Let’s play with this a little to create a delay, so that the lights go on one at a time around the Bluefruit and then down the wire. For this, we use an iterative loop (actually two of them!). Replace the code in your while True loop with this instead:
    for i in range(10):
        pixels[i] = RED
        time.sleep(.1)
    for j in range(10):
        pixelstrip[j] = GREEN
        time.sleep(.1)
    time.sleep(.25)
    pixels.fill(OFF)
    pixelstrip.fill(OFF)
You can use iterative for loops when ever you need to repeat an action, and we see them in interesting places. For the one we made, we used just a number range (in this case, 10 because there are 10 Neopixels on each strip), but we can go over any list one at a time- even one we make ourselves! Let’s use our color variables to make a little list of colors and then flash through it. Start by adding this line to your setup section:
COLORCYCLE = (RED, YELLOW, GREEN, CYAN, BLUE, MAGENTA, OFF)That creates a list of items, and the list itself is called COLORCYCLE. We can run through it (in the order listed) using the same type of loop we just used:
for color in COLORCYLE:Order matters here, and you are welcome to play around with it! To have the whole ring and strip light up with one color at a time, do this:
while True:
    for color in COLORCYCLE:
        for i in range(10):
            pixels[i] = color
            time.sleep(.1)
        for j in range(10):
            pixelstrip[j] = color
            time.sleep(.1)
    time.sleep(.25)
    pixels.fill(OFF)
    pixelstrip.fill(OFF)
But you can also switch it up and have each light go through the cycle:
while True:
    for i in range(10):
        for color in COLORCYCLE:
            pixels[i] = color
            time.sleep(.1)
    for j in range(10):
        for color in COLORCYCLE:
            pixelstrip[j] = color
            time.sleep(.1)
    time.sleep(.25)
    pixels.fill(OFF)
    pixelstrip.fill(OFF)
I’ve only given you a short NeoPixel strip to experiment with, but the Bluefruit is pretty powerful and can power 200+ at a time. There are lots of projects out there that use NeoPixels, and with the GIZMO, it’s easy to plug them in.
Also, I’ve included a second Neopixel strip. Your last step is to see if you can figure out how to plug that in and code it. Call Cyd over to show her.
Playing Sound
The Bluefruit can also play audio two different ways, either playing specific tones to make a melody or playing an encoded audio file, and you can use the GIZMO to attach it to a larger speaker to really amp it up. I’ve provided a really tiny external speaker for you as an example. Locate your speaker in your box and plug it into the A0 port, which is also helpfully labeled with a speaker icon:

We’ll start by playing a tone on the speaker. It’s fairly straightforward, if you use the adafruit_circuitplayground library:
import neopixel
import board
import time
from adafruit_circuitplayground import cp

while True:
    cp.play_tone(255, .4)
    time.sleep(1
That’s pretty annoying, so let’s add a button trigger:
import neopixel
import board
import time
from adafruit_circuitplayground import cp

while True:
    if cp.button_a:
        cp.play_tone(255, .4)
This will play a tone at 255 hertz for .4 seconds when you push button A. Using a handy note to frequency chart, and our iterative for loop skills from above, you can code some 8-bit tunes. Here is an example, where I’ve made a little library of notes, then some tunes, and have the code go through them:
import neopixel
import board
import time
from adafruit_circuitplayground import cp
# Notes
C3 = 131
Db3 = 138
D3 = 147
Eb3 = 155
E3 = 165
F3 = 174
Gb3 = 185
G3 = 196
Ab3 = 207
A3 = 220
Bb3 = 233
B3 = 247
C4 = 261
Db4 = 277
D4 = 293
Eb4 = 311
E4 = 329
F4 = 349
Gb4 = 370
G4 = 392
Ab4 = 415
A4 = 440
Bb4 = 466
B4 = 494
FURELISE = (
E4,Eb4,E4,Eb4,E4,
B3,D4,C4,A3,A3,A3,
C3,E3,A3,B3,B3,B3,
E3,Ab3,B3,C4,C4,C4,
)
TWINKLE = (
G3, G3, D4, D4, E4, E4, D4, 0,
C4, C4, B3, B3, A3, A3, G3, 0,
)
while True:
if cp.button_a:
for f in FURELISE:
cp.play_tone(f, 0.25)
time.sleep(0.05)
elif cp.button_b:
for g in TWINKLE:
cp.play_tone(g, 0.25)
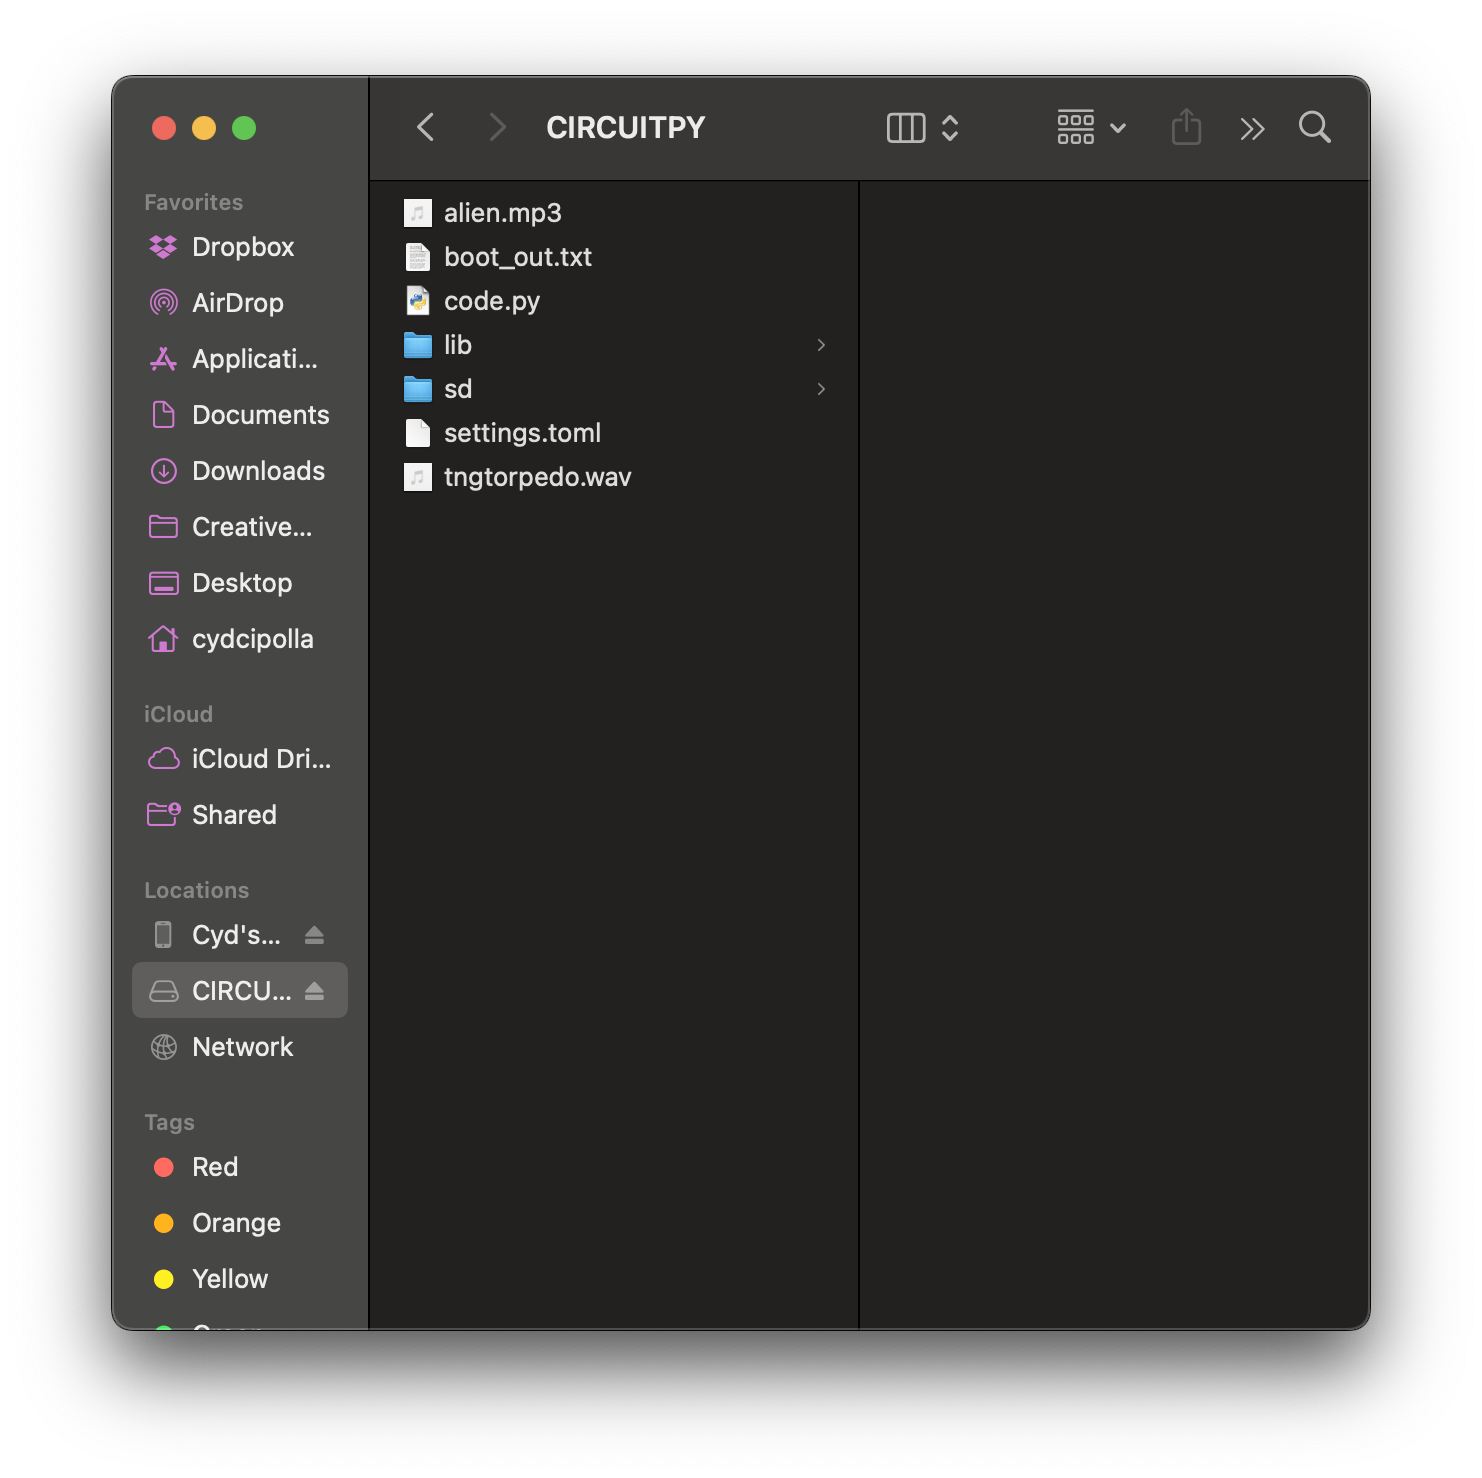
time.sleep(0.05)But, of course, there are limits to this (and you may have noticed your speaker is a bit unhappy with the sounds.) Your Bluefruit can also play music. To do this, you first want to locate a short snippet encoded as an .mp3 (it doesn’t have enough memory to play a whole song.) So, for example, you might look up some fun Star Trek sound effects at that link. Download one, rename it something short and catchy (optional but very useful) and put the file directly on the CIRCUITPY drive. Here, I’ve pulled an alien noise, renamed it named alien.mp3, and copied it onto the CIRCUITPY drive:
Use the function cp.play_mp3 and call the file itself:
import neopixel
import board
import time
from adafruit_circuitplayground import cp


while True:
    if cp.button_a:
        cp.play_mp3("alien.mp3")
And there you go! Use this information to see if you can encode your own .mp3.
