First, make sure you download and install the text editor Mu. Then, download and update CircuitPython on your BlueFruit board. Today, we’re going to be working with one of the built-in libraries on the board, and learning how to light up some pretty colors!
Open up Mu and it should detect the Bluefruit right away. If not, click LOAD and navigate to the CIRCUITPY board, and open up code.py. It will look similar to this (your exact code may vary):
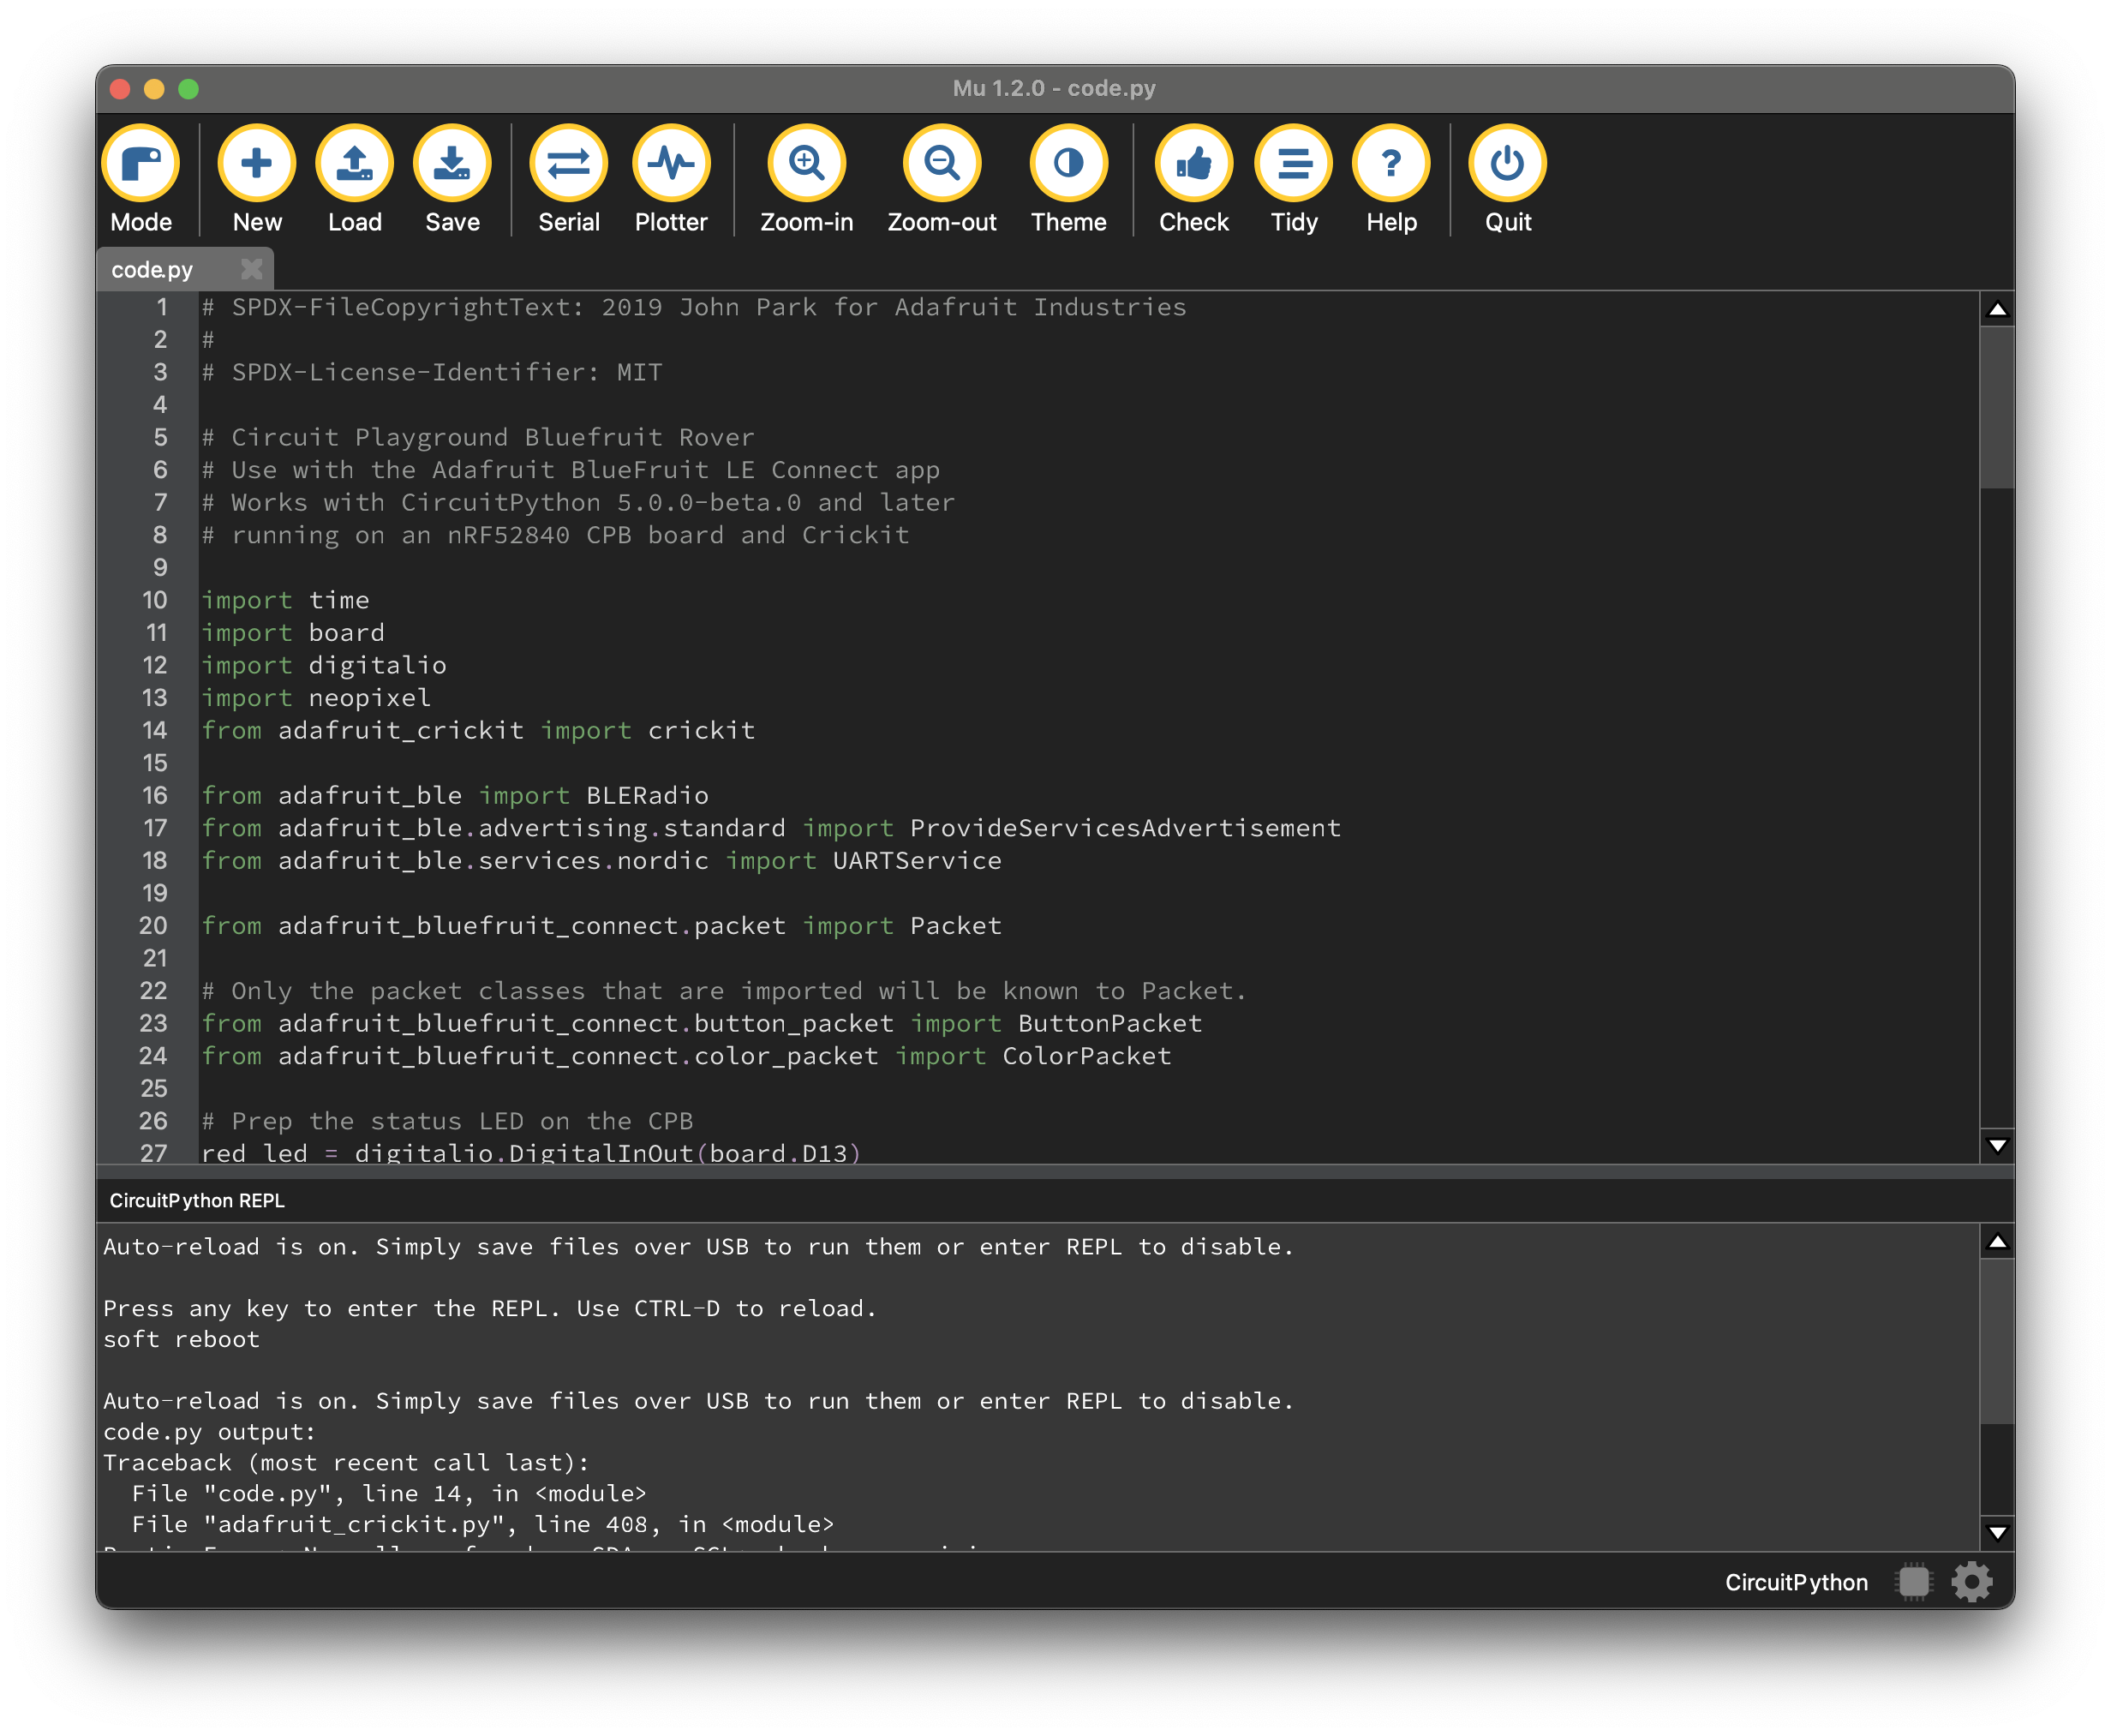
Select all the code in the window and DELETE it! We are going to start from scratch today. Cut and paste the code below into the blank window:
import board
import neopixel

pixels = neopixel.NeoPixel(board.NEOPIXEL, 10)
RED = (255, 0, 0)

while True:
    pixels[0] = RED
CircuitPython code has three basic areas – I call them references, setup and loop. The references come first and almost always either start with or include the word import. This shows up in green in the text editor because its a specific command- in this case, it means we are importing (or referencing) another code base or library. We’ll talk a lot more about that later. In this code, we are importing the basic board library and the neopixel library – because we are using a microcontroller board and lighting up its onboard RGB LEDs or NeoPixels!
The next section, setup, is where you find all of the various pieces of information we give the board so that it is ready to run code. This includes telling the board what pins/pads to use, what data to expect, creating variables and functions, and much more. This code runs just once when the board starts up. Here, we see an object called pixels, which tells the code where to find the NeoPixels and how many there are (they are on the board and there are 10). We also see the definition of the color RED – since we are working with RGB color, that means it lights up R(ed) fill strength at 255 and the other two colors (Green and Blue) are at 0.
The last section is the loop. This is the code that runs over and over again. In CircuitPython, it always starts with the phrase “while True.” For our purposes, in this class, remember that everything that is written under the while True loop is part of it. And also remember, like the great ring of power, there can be only one loop, and thus, only one while True. In our loop, we tell the board to light up the first pixel red.
Press SAVE and boom! Red!
Now let’s do some modifications – we’ll start by lighting up some other pixels with some other colors. Add the following to the setup section:
GREEN = (0, 255, 0)
BLUE = (0, 0, 255)
And then the following to the loop: (Make sure the indent is the same as the lines before it!)
pixels[1] = GREEN
pixels[2] = BLUE
Press SAVE and you’ve got some more lights! With RGB you can pick almost any color you can think of, so take a moment and light up your NeoPixels the way you want. Add a line for each color to make your life easier. If you want a NeoPixels to turn off, make a color that is (0, 0, 0) – I recommend that you name this one OFF. So you might add:
MAGENTA = (255, 0, 255)
PURPLE = (100, 0, 255)
OFF = (0, 0, 0)
And for the loop section, remember that we started counting with 0, so although there are 10 NeoPixels, the last one is actually #9. So you might add:
pixels[5] = PURPLE
pixels[9] = MAGENTA
Ok, so now that you’ve done that, what if you wanted to make them do some blinking? We need a way for the CPX to keep time, so we’re going to import a new library into our references. Add this line to the top, under the other import lines:
import timeAnd then add the following line to your loop section anywhere you want there to be a little pause. The number in parentheses is seconds, so 1 is a full second pause, while .25 would be a quarter-second, and so on.
time.sleep(.5)And one final fun thing to try: you can turn all the pixels to the same color with the command pixels.fill(). You put the color INSIDE the parentheses here instead of using an equals sign. For example, this line will turn all the NeoPixels off :
pixels.fill(OFF)Adding it all together, here is a script that will turn on your NeoPixels in a little rainbow and then turn them off:
import board
import neopixel
import time

pixels = neopixel.NeoPixel(board.NEOPIXEL, 10)
RED = (255, 0, 0)
ORANGE = (255, 100, 0)
YELLOW = (255, 255, 0)
LIGHTGREEN = (255, 255, 100)
GREEN = (0, 255, 0)
DARKGREEN = (0, 255, 100)
CYAN = (0, 255, 255)
BLUE = (0, 0, 255)
PURPLE = (100, 0, 255)
MAGENTA = (255, 0, 255)
OFF = (0, 0, 0)

while True:
    pixels[0] = RED
    time.sleep(.25)
    pixels[1] = ORANGE
    time.sleep(.25)
    pixels[2] = YELLOW
    time.sleep(.25)
    pixels[3] = LIGHTGREEN
    time.sleep(.25)
    pixels[4] = GREEN
    time.sleep(.25)
    pixels[5] = DARKGREEN
    time.sleep(.25)
    pixels[6] = CYAN
    time.sleep(.25)
    pixels[7] = BLUE
    time.sleep(.25)
    pixels[8] = PURPLE
    time.sleep(.25)
    pixels[9] = MAGENTA
    time.sleep(1)
    pixels.fill(OFF)
    time.sleep(.5)
If you want even MORE fun with NeoPixels, you can see the full documentation from CircuitPython.
